Oct 2023 update:
Unfortuantley the Teensy 3.2 is no longer available so this guide isn't to helpful. The Teensy 4 is much more posverful but lacks a built in DAC. The code could be modified to use a simple SPI DAC like a MCP4921.
Breadboard based glitchy delay using the Teensy 3.2
See it in action here.
The rad fi delay 1.5 is an updated version of the original arduino based lo-fi glitch effect released by Bleep Labs in 2015. This new version is meant as a quick breadboard or soldering project you can build right now using off the shelf parts. Unlike the atmega328 used in the original, this updated device uses the Teensy 3.2. This allows it to sample audio at 44.1k while still maintaining the simple glitchiness of the original.
The Rad-Fi Delay can work just like a standard delay effect with a feedback and delay time control. The trick is that the sample rate of the effect and other features can be controlled with digital inputs and three square wave oscillator outputs. This produces odd arpeggiated, granular sounds.
This is a simple but fun educational device that can help you get started making Arduino devices. Check out the fully commented code above for more info.
Getting started with breadbords guide
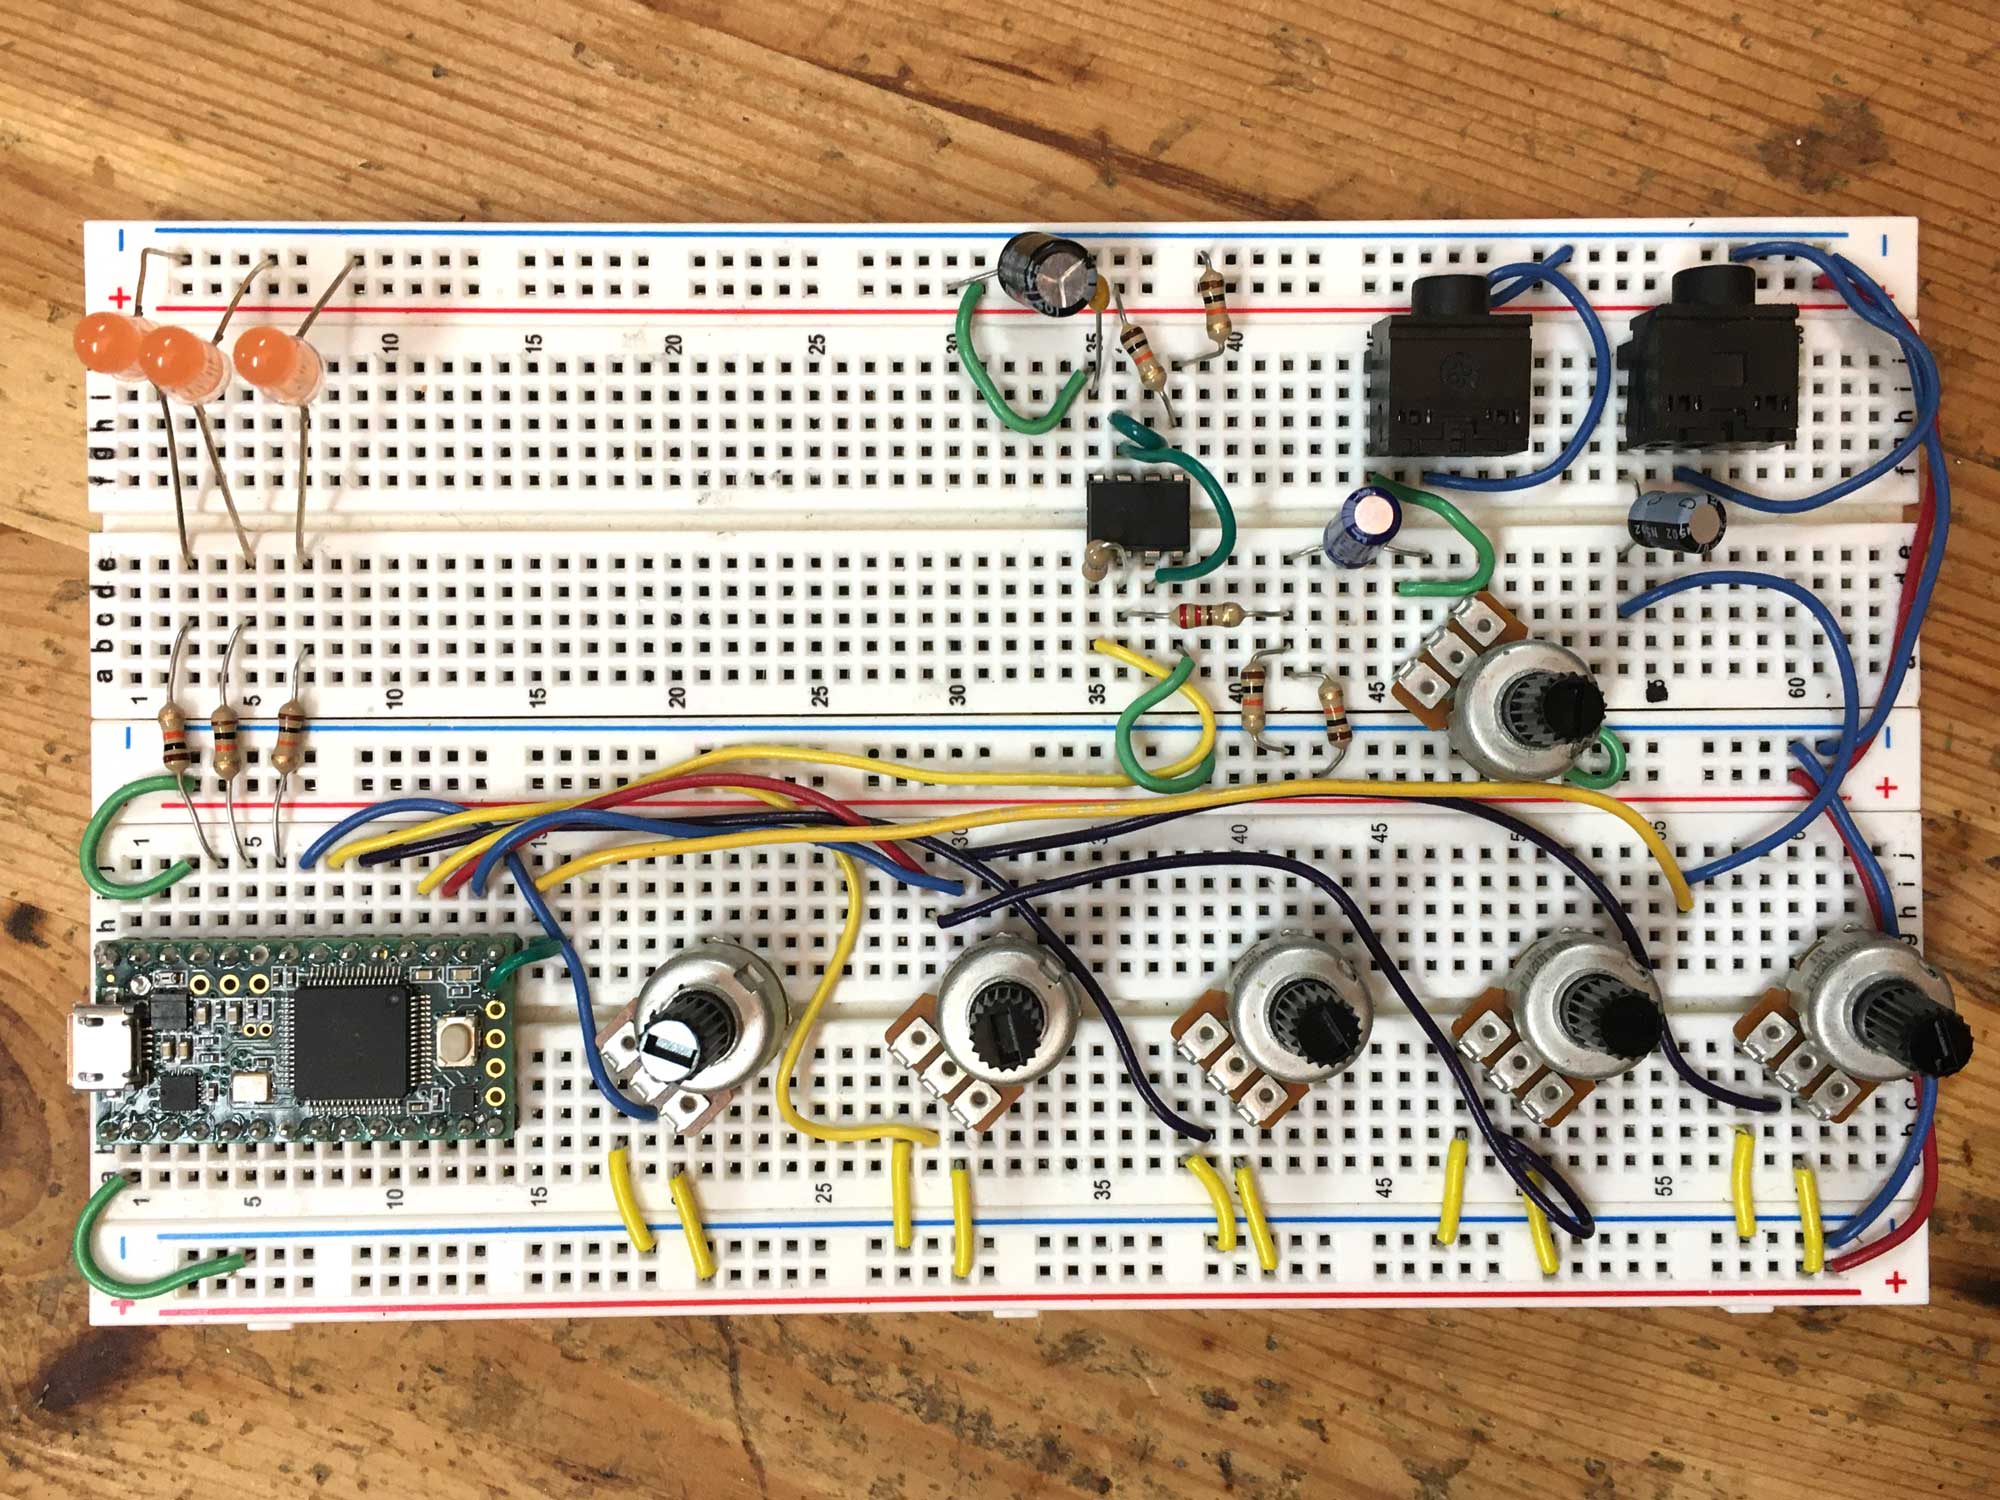
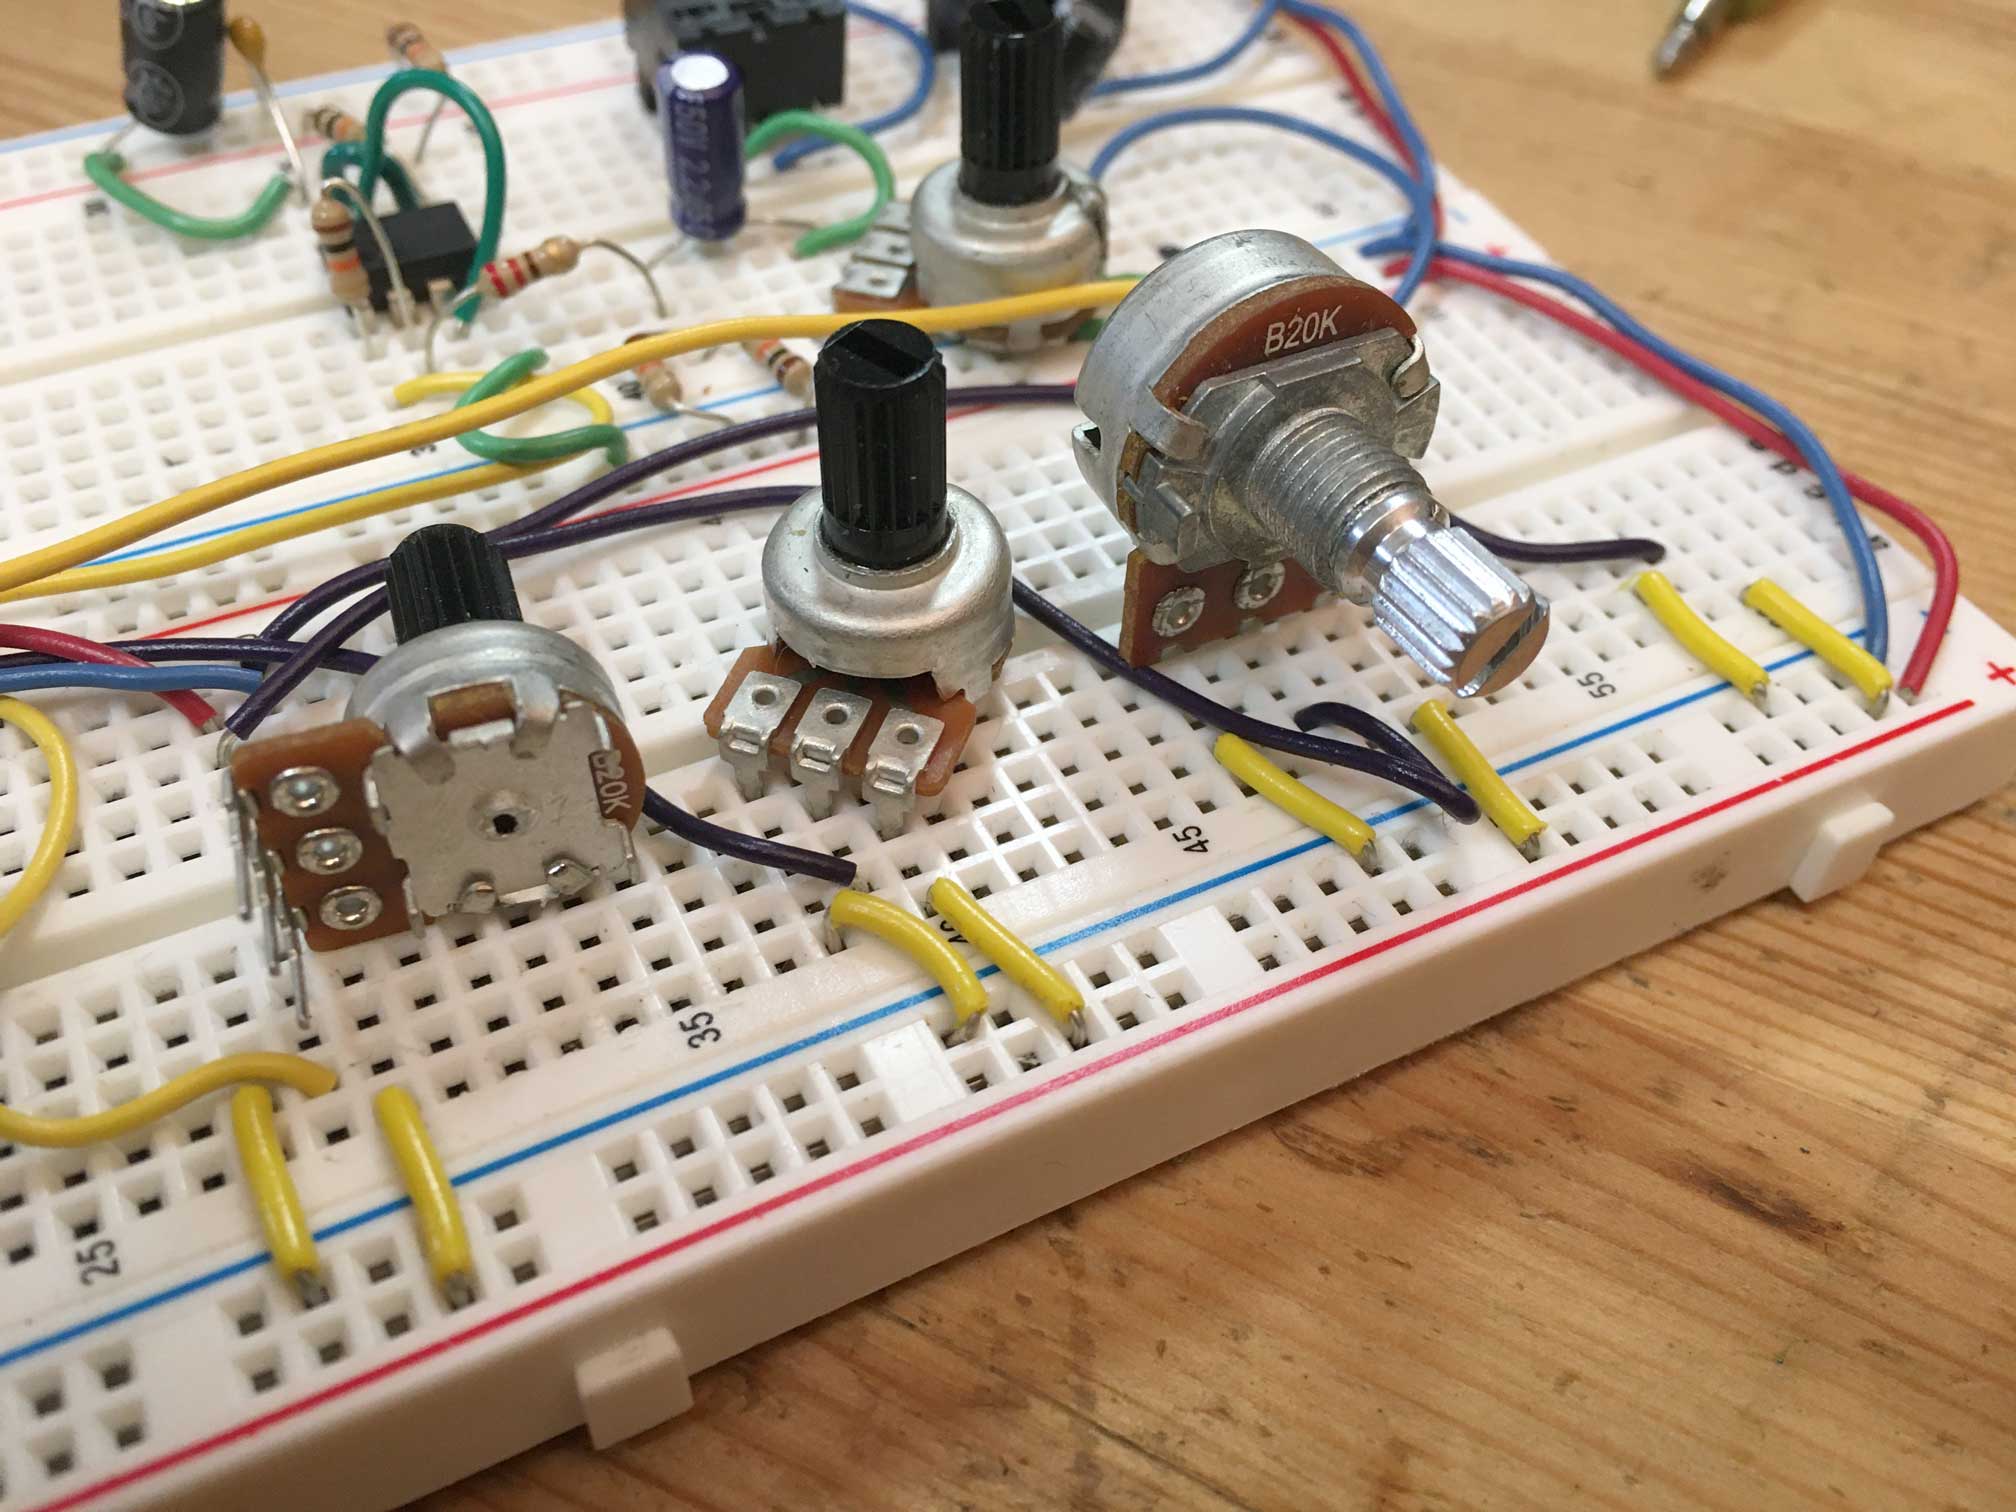
I like these "12mm" pots on the parts list. All you need to do is remove the large tabs from the back and they fit nicely on a PCB. Standard ones can be used instead, just move the two small wires to connect to them.
There is one thing that needs soldering or at least a wire twisted tightly on it. The DAC outpt of the Teesny 3.2 is not on the normal breadboard pins so you'll need to connect a wire to it.
Once you get all the parts together upload the code found in the "rad_delay_1v5" folder above to the Teesny. Guide here.
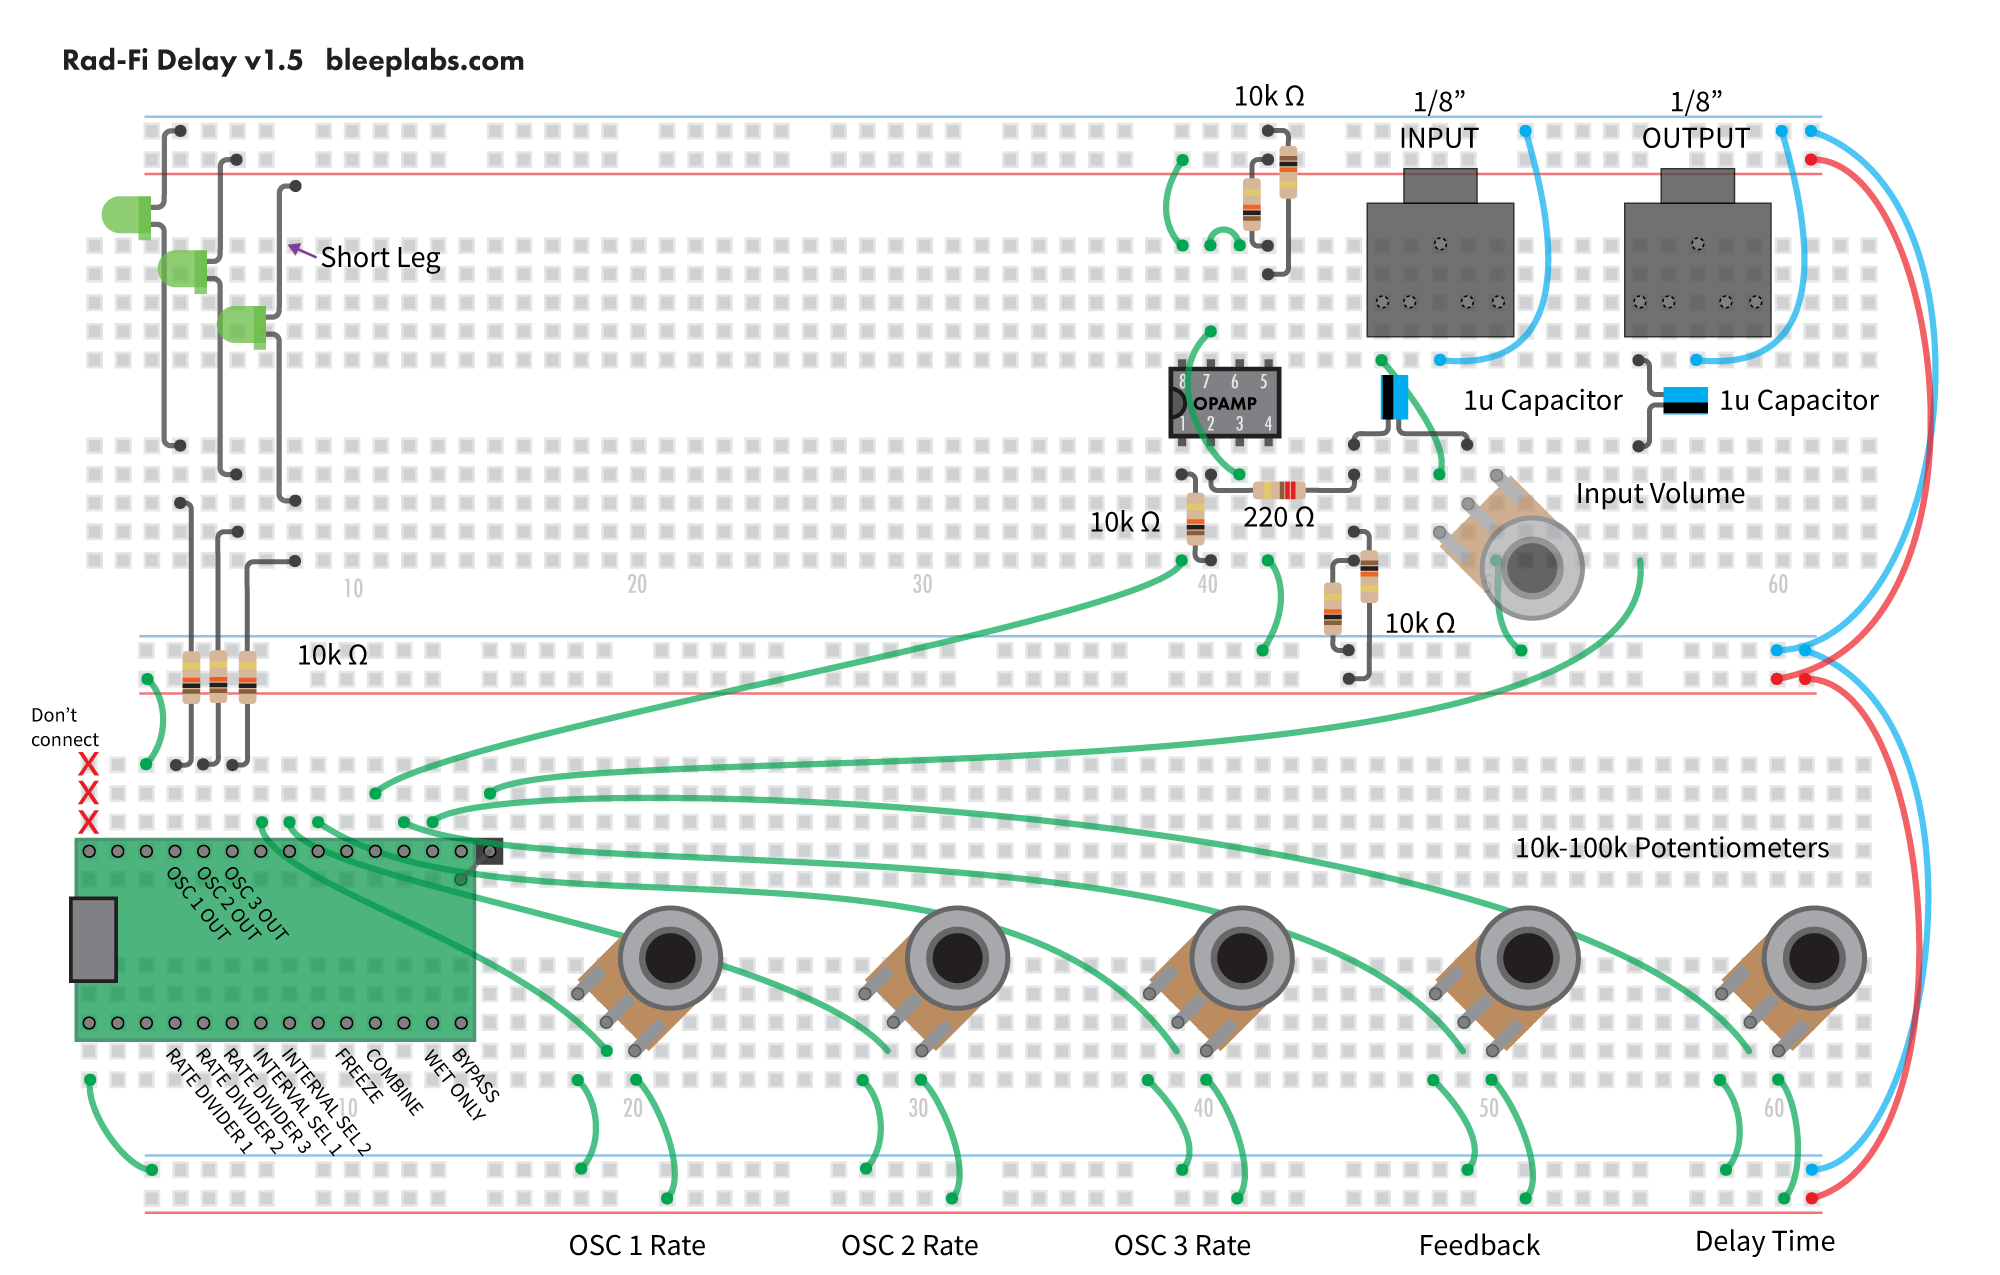
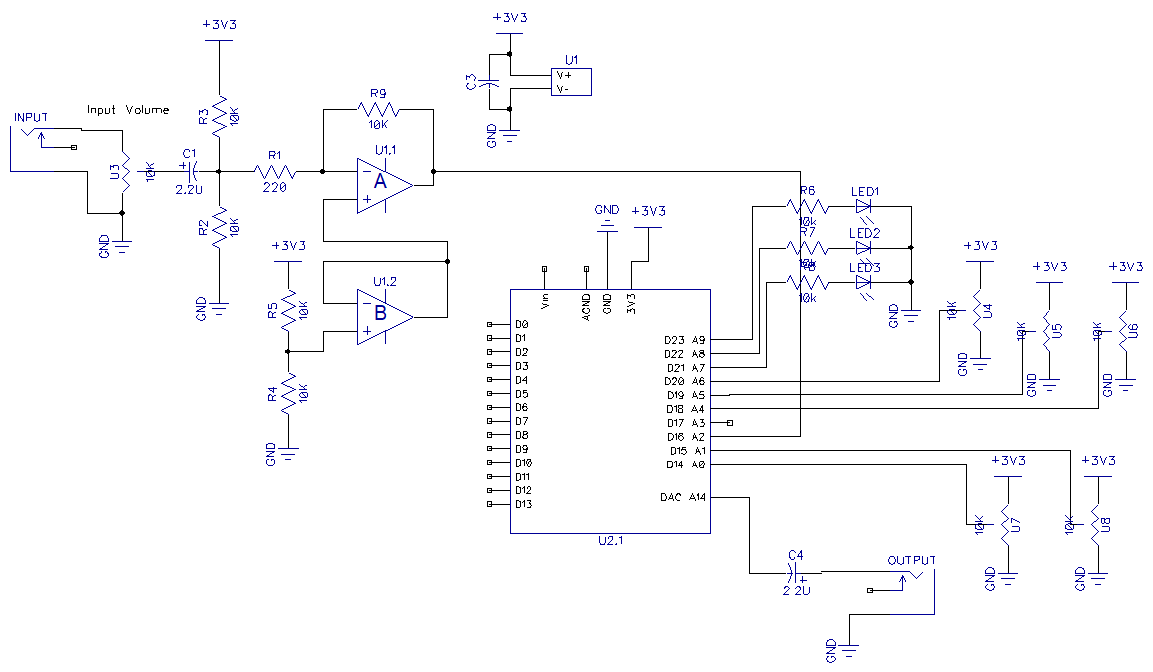
All of the marked columns on the bottom side are digital inputs. There are activated when the receive a low signal, that is they are connected to ground. You can manually use a wire to do this or use one of the oscillator outputs on the top of the Teensy. An input opamp is required to get the audio to the correct level and protect the Teensy. After the input jack there is a simple attenuator. This volume control pot allows you to use signals with a large range like those coming from a modular synth or quieter ones like those coming from a line level output. Then a capacitor and resistors going to 3v3 and ground. This centers the signal around the halfway point, 1.65V. Next another resistor and opamp. This buffers and amplifies the signal and keeps the output between 3v3 and ground. The opamp below it makes another voltage reference at 1.65V for the first opamp to operate with.Are you selling a kit?
Not right now but if you're interested sign up for this mailing list and I'll email about this only. (Sign up here for all Bleep Labs news). I threw this device together with the simplest parts possible so anyone could get the parts they need from a variety of sources (see the Parts list
).
Why not use the Audio libary and board?
I love Paul's audio library and have used it on my producest and even contributed to it but I like to make things from scratch too. Also, this device is meant as an educational tool for coding Arduino devices using the least amount of parts possible.
It's got a lot of noise when the input volume is low The input might be sampled at 44k but the ADCs are pretty noisy at that rate. Powering it with USB from the same machine you're recording it to can cause ground loop noise so try to power it with a USB power adapter or better yet a USB battery pack. DON'T try to use a 9v battery or supply without using a voltage regulator. But that's for another guide.
Email me with any questions [email protected]


