-
Notifications
You must be signed in to change notification settings - Fork 92
Setting up Eclipse
This document details how to setup Eclipse Oxygen as your primary IDE for ZCS development.
Choose a location on your filesystem to checkout the source:
mkdir -p ~/Projects/Zimbra
cd ~/Projects/Zimbra
Clone the zm-zcs repository:
git clone [email protected]:Zimbra/zm-zcs.git
cd zm-zcs
git checkout develop
Create eclipse-ivysettings.xml inside the zm-zcs directory to hold the Ivy settings. This file is used by both Eclipse and Intelli-J in the Ivy Plugin to configure where it stores any dependencies downloaded or created during the build process.
Note: You may have to update the path to match your directory structure. Replace ${user.home} with your home directory if necessary. If you are not running on Mac OS X update the path prefix accordingly. The path MUST be absolute.
<?xml version="1.0" encoding="UTF-8"?>
<ivysettings>
<property name="httpclient.version" value="4.5.8"/>
<property name="httpclient.httpcore.version" value="4.4.11"/>
<property name="httpclient.async.version" value="4.1.4"/>
<property name="jetty.version" value="9.4.18.v20190429"/>
<property name="dom4j.version" value="2.1.1"/>
<property name="com.google.guava.version" value="28.1-jre"/>
<settings defaultResolver="chain-resolver" />
  <caches defaultCacheDir="${user.home}/.ivy2/cache"/>
  <resolvers>
    <chain name="chain-resolver" returnFirst="true">
      <filesystem name="local">
        <artifact pattern= "${user.home}/.zcs-deps/[organisation]/[module]/[module]-[revision].[ext]" />
        <artifact pattern= "${user.home}/.zcs-deps/[organisation]-[revision].[ext]" />
        <artifact pattern= "${user.home}/.zcs-deps/[organisation].[ext]" />
      </filesystem>
      <ibiblio name="maven" m2compatible="true" usepoms="false"/>
      <url name="zimbra">
        <artifact pattern="https://files.zimbra.com/repository/[module]/[artifact]-[revision].[ext]" />
        <artifact pattern="https://files.zimbra.com/repository/[module]/[artifact].[ext]" />
        <artifact pattern="https://files.zimbra.com/repository/[organisation]/[module]/[module]-[revision].[ext]" />
      </url>
    </chain>
    <!-- 'build-tmp' resolver is not part of the chain and is used only for packaging war files -->
    <!--
    <filesystem name="build-tmp">
      <artifact pattern="${build.tmp.dir}/[module]-[revision].[ext]" />
    </filesystem>
    <filesystem name="build-dist">
      <artifact pattern="${dist.dir}/[module]-[revision].[ext]" />
    </filesystem>
    -->
  </resolvers>
</ivysettings>
Clone the zm-mailbox repository and checkout the branch that you would wish to work for:
git clone [email protected]:Zimbra/zm-mailbox.git      # If you have a GitHub Account
git clone https://github.com/Zimbra/zm-mailbox.git  # Anonymous clone
git checkout develop
Compile the zm-mailbox repo using following link:
https://github.com/Zimbra/zm-mailbox/wiki/How-to-set-up-development-environment-for-zm-mailbox-repository
Note: If you wish to contribute back to the project you will need to fork the repository and submit pull requests from your fork.
Once cloned locally you can proceed to setup the Eclipse by following the process below:
-
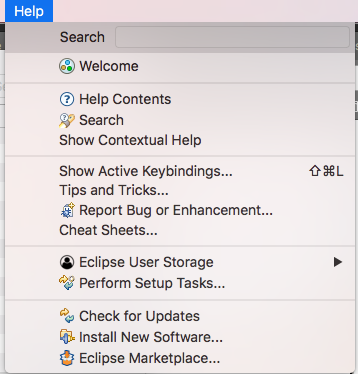
Open Eclipse Marketplace
-
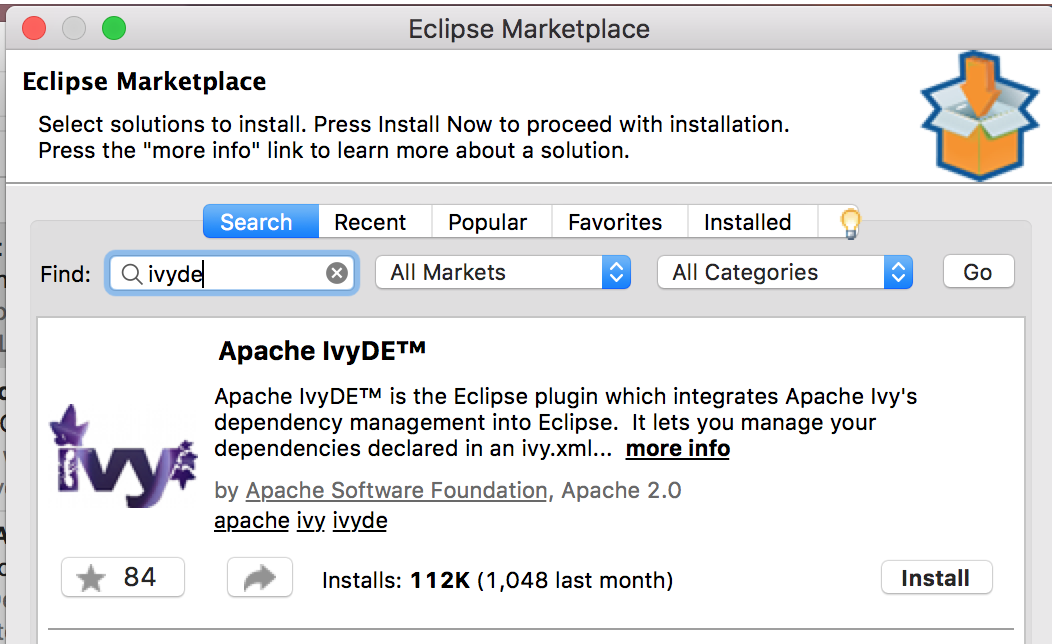
Search for Apache IvyDE
-
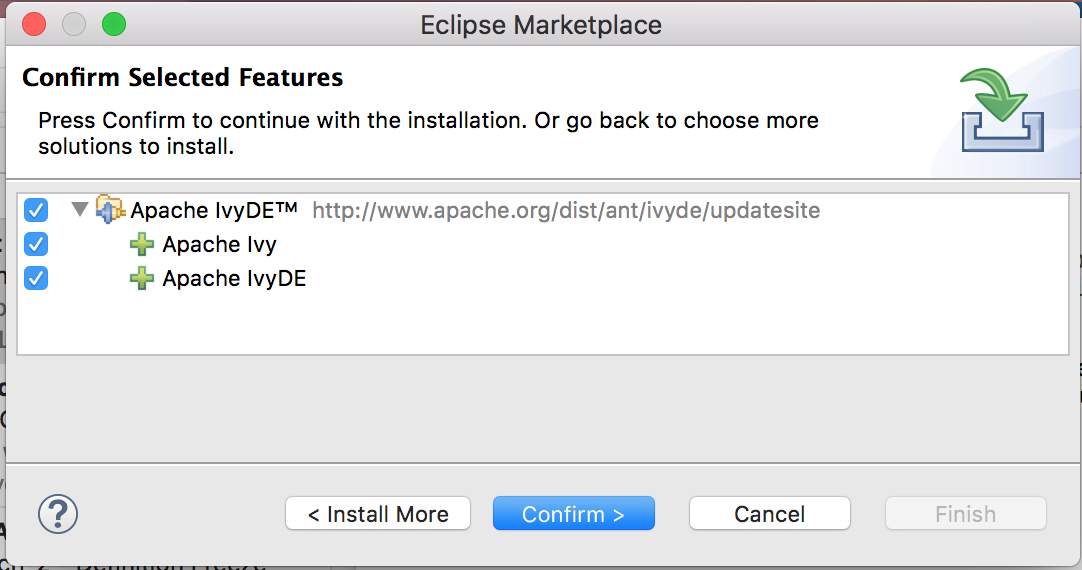
Install Apache IvyDE
Push the install button and confirm.
Update the radio button to
I accept..and push the Finish button to install IvyDE.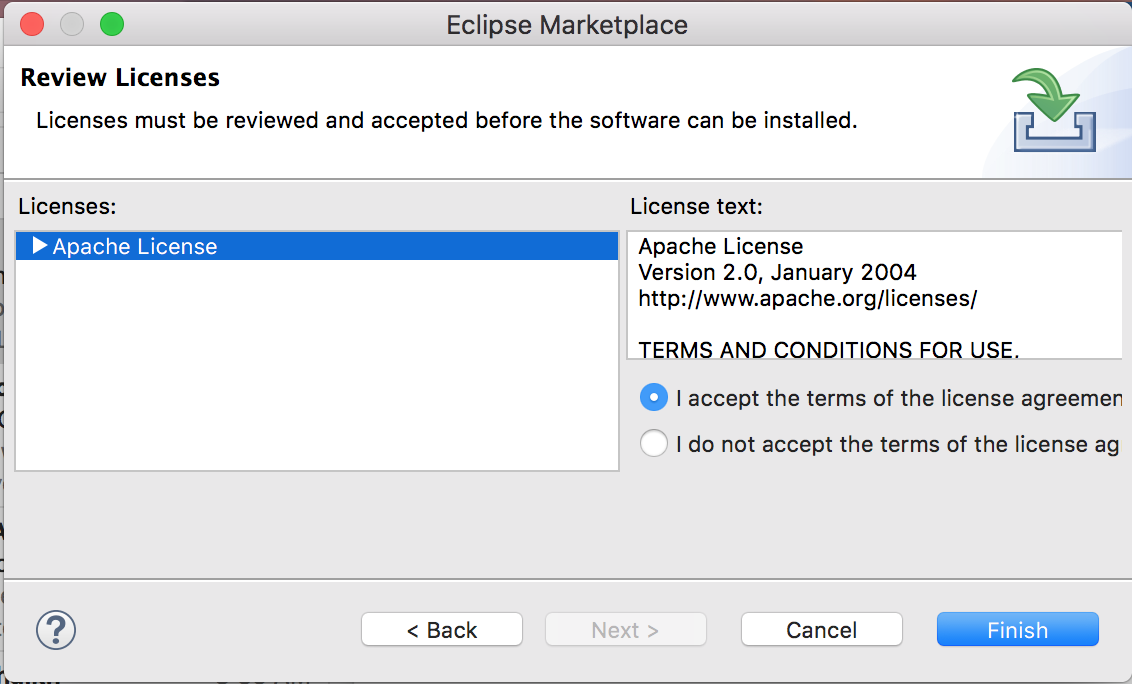
Push the install anyway button when prompted by the security warning.

Push the Restart Now button when prompted to finish the installation:

-
Update Ivy Settings
Open the
Eclipse Preferencesmenu: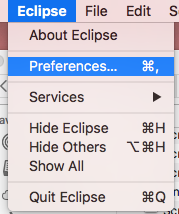
Select the
Ivy / Settingssubmenu:
Push the File System... button and navigate to
~/ProjectsZimbra/zm-zcs/and select theeclipse-ivysettings.xmlfile: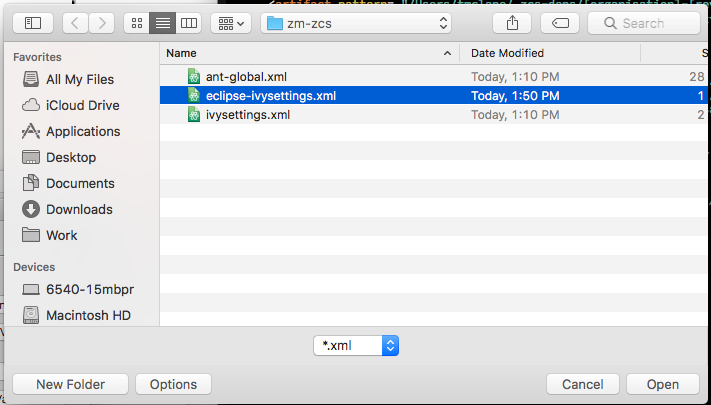
Push the Open button to select the
eclipse-ivysettings.xml.Note: If you don't have one of these files please re-read from the beginning and following the instructions titled:
Repository setup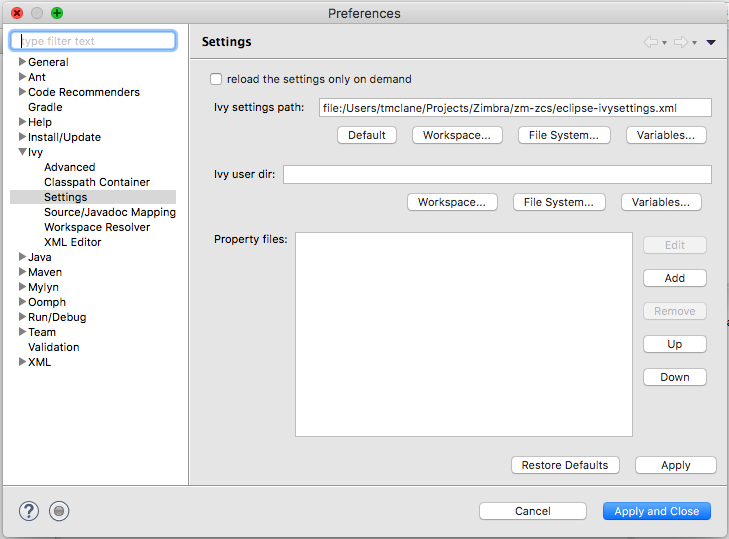
Push the Apply and Close button.
-
Open Eclipse Oxygen.
-
Create a new empty workspace: Recommend using '~/Projects/Zimbra'.

-
Eclipse welcome screen
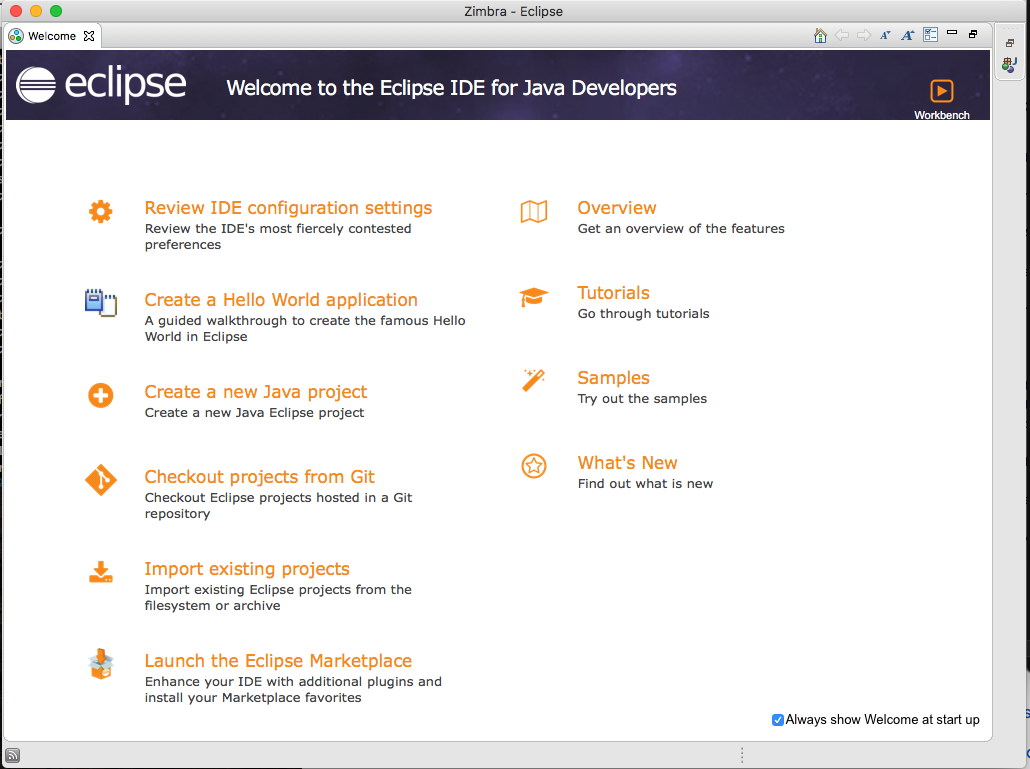
Close the welcome screen.
-
Eclipse main window will then appear:
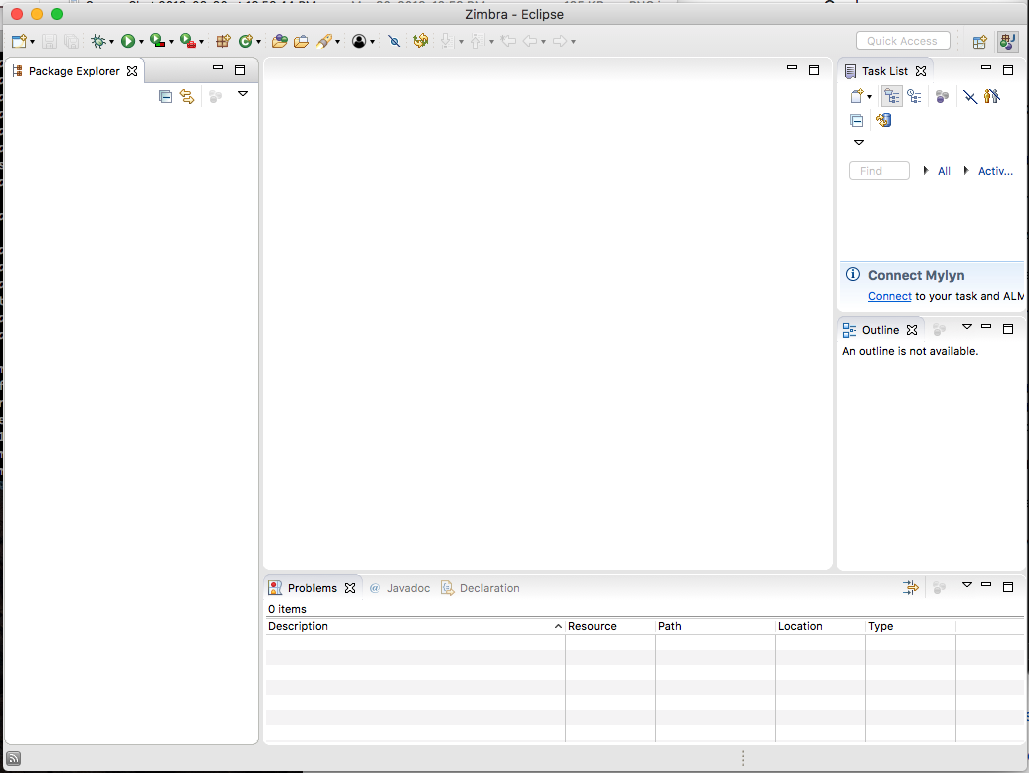
-
Add
zm-zcsas a new Java project:
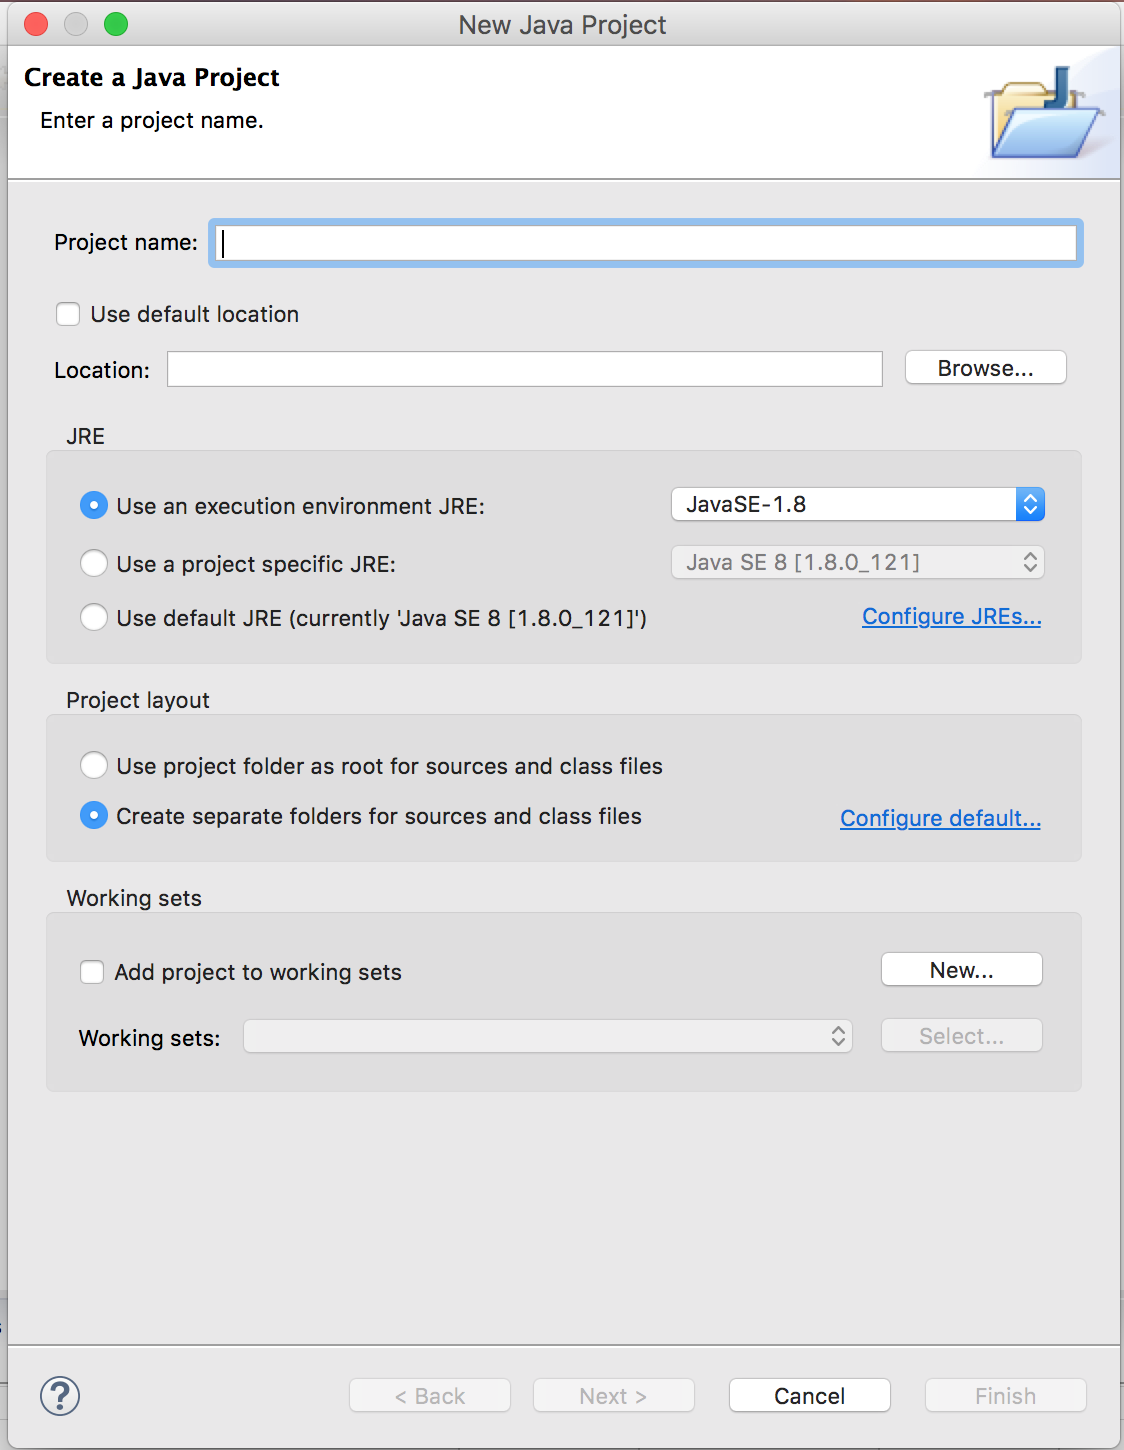
Unselect
Use default locationpush Browse and navigate to~/Projects/Zimbraand selectzm-zcs: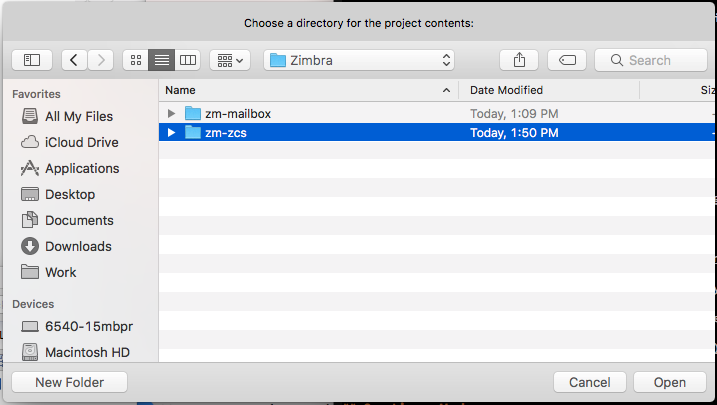
Push Open to complete the selection.
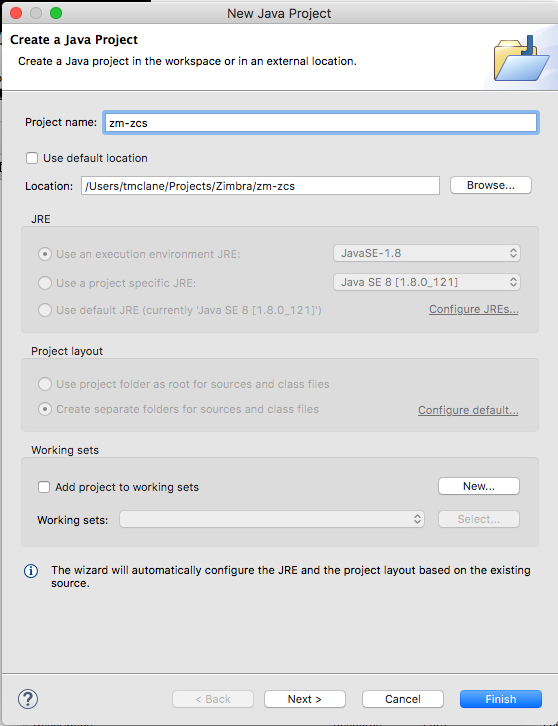
Push Finish to add the
zm-zcsproject to the workspace.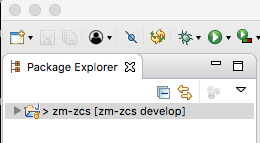
-
Add
zm-mailbox/nativeas a new Java project:

Push Browse and navigate to
~/Projects/Zimbra/zm-mailboxand selectnative: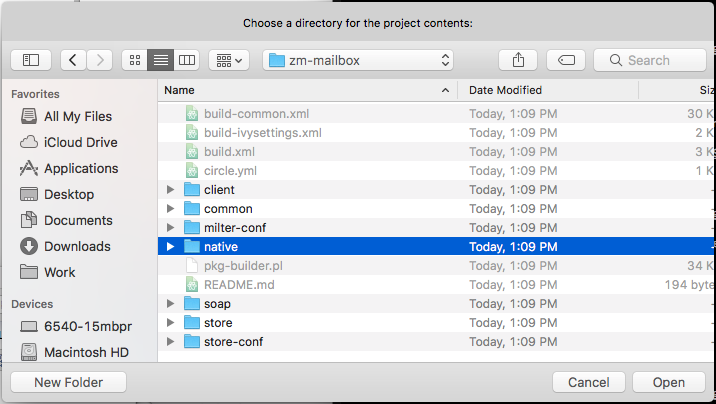
Push Open to complete the selection.
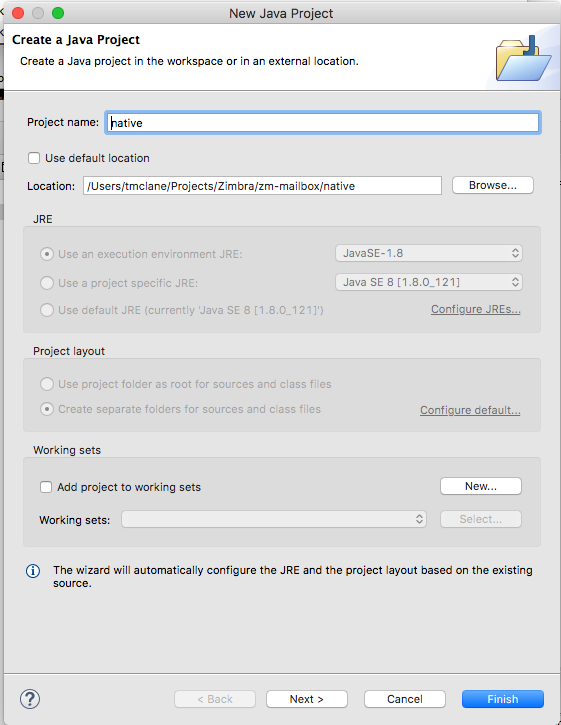
Push Finish to add the
zm-zcsproject to the workspace.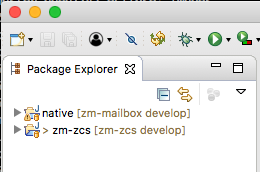
-
Inform the Ivy subsystem of the new
nativeproject:Expand the
nativefolder and right click on theivy.xmlfile.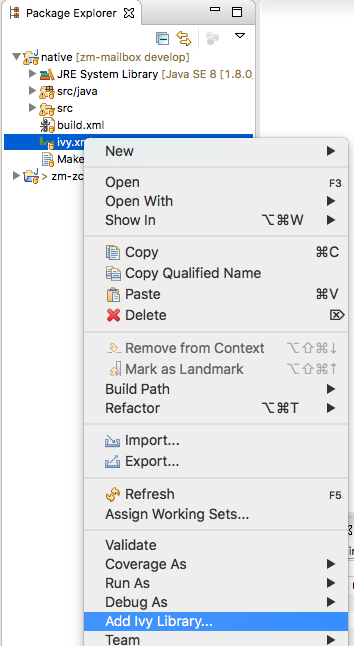
Push Finish to update the Ivy dependencies.
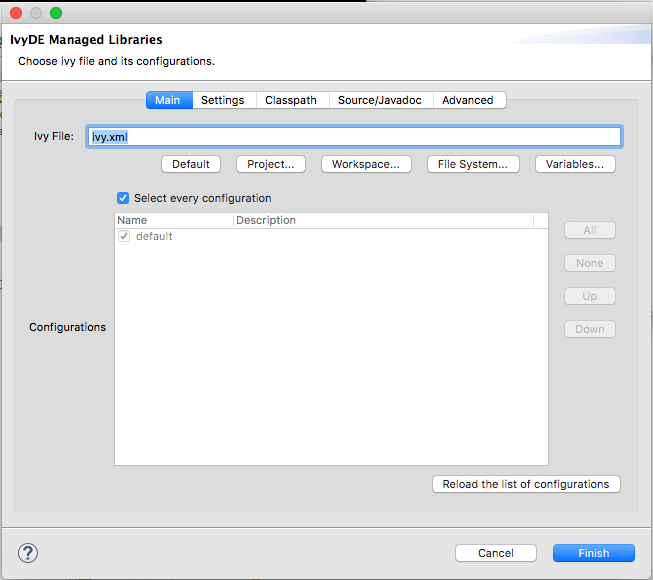
-
Add
zm-mailbox/commonas a new Java project:

Push Browse and navigate to
~/Projects/Zimbra/zm-mailboxand selectcommon: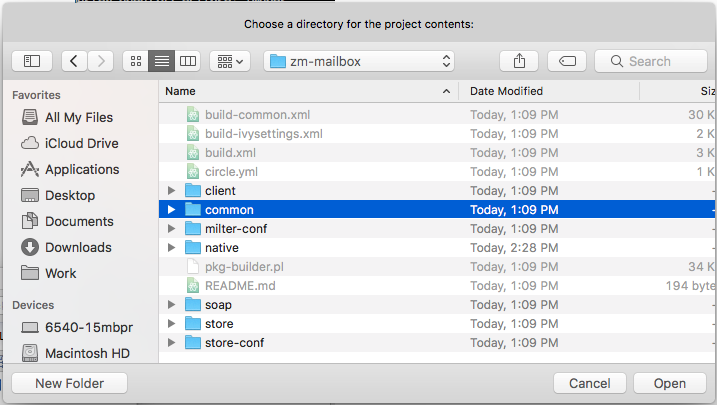
Push Open to complete the selection.
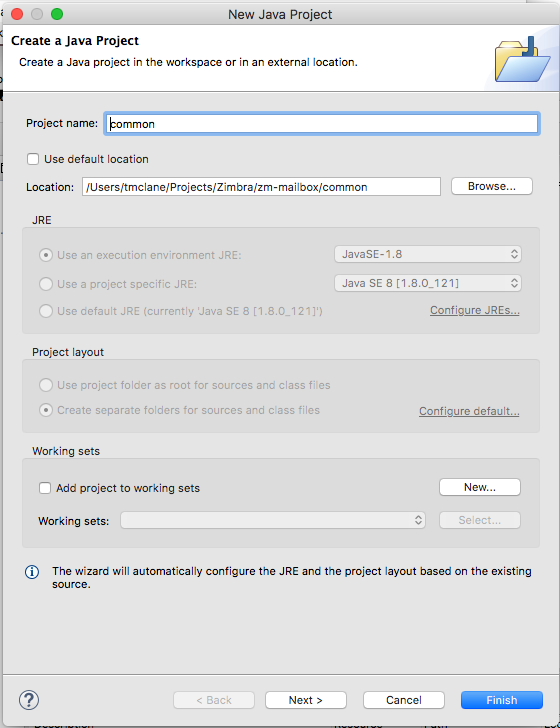
Push Next to update
commonproject settings: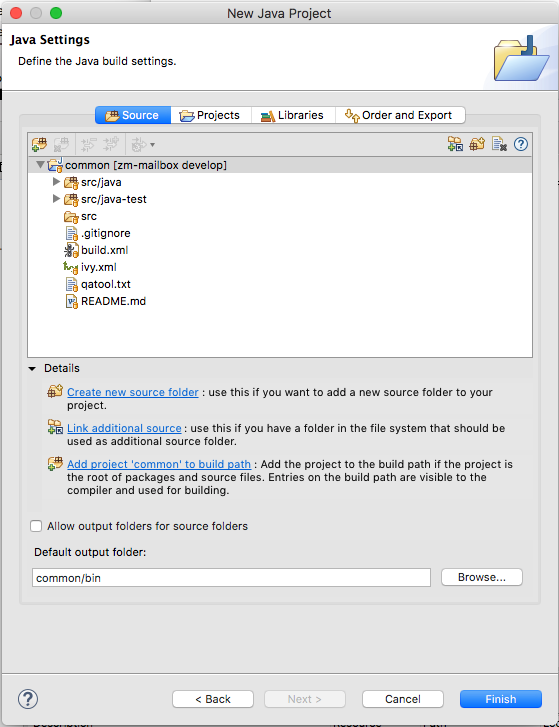
Push the Projects tab to switch to the
commonproject settings: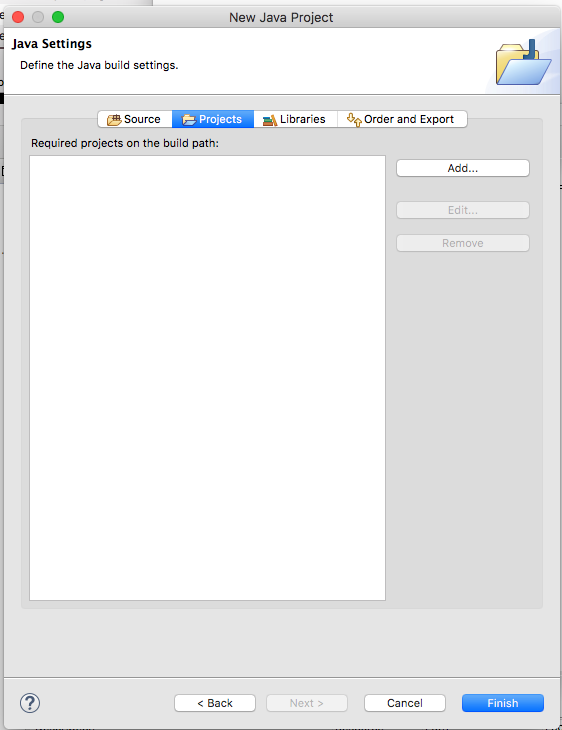
The
zm-mailbox/commonproject depends on thezm-mailbox/nativeproject. Click on the Add... button and select thenativeproject and push OK.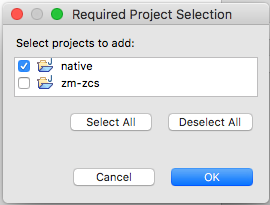
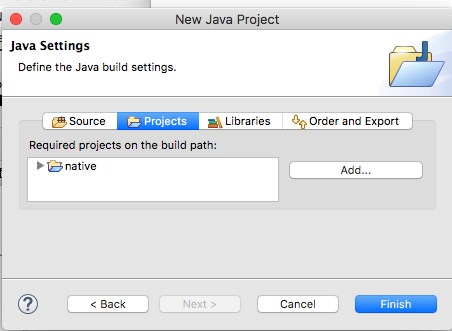
Push Finish to add the
zm-mailbox/commonproject to the workspace.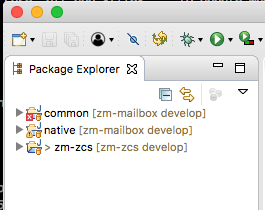
-
Inform the Ivy subsystem of the new
commonproject:Expand the
commonfolder and right click on theivy.xmlfile.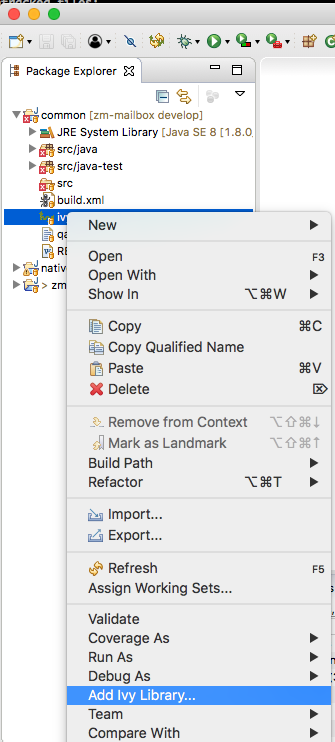
Push the Add Ivy Library... menu option:

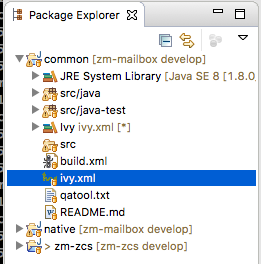
Push Finish to update the Ivy dependencies.
-
Add
zm-mailbox/soapas a new Java project:

Push Browse and navigate to
~/Projects/Zimbra/zm-mailboxand selectsoap: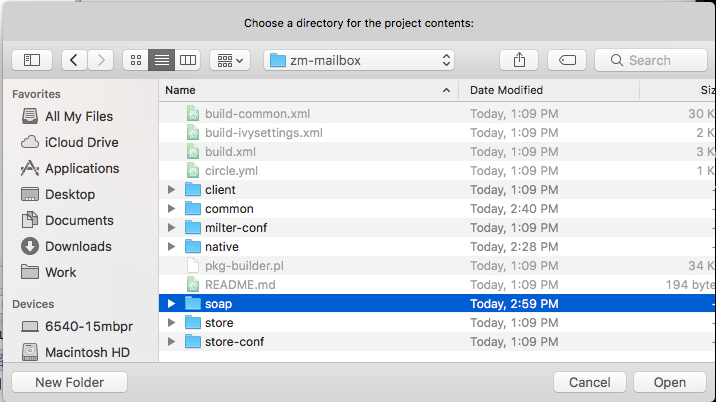
Push Open to complete the selection.
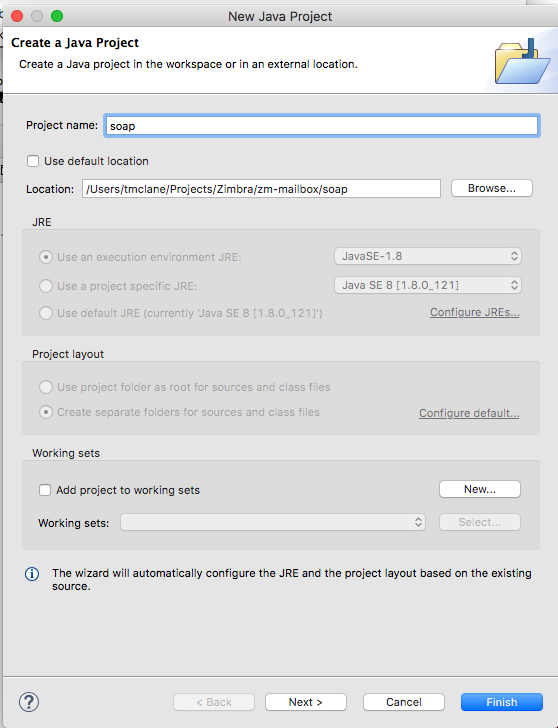
Push Next to update
soapproject settings: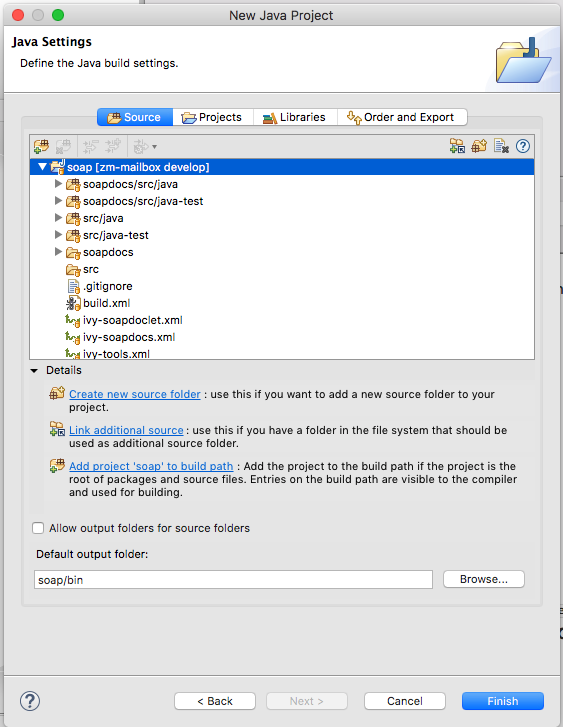
Select the
soapdocs/src/javaandsoapdocs/src/java-test.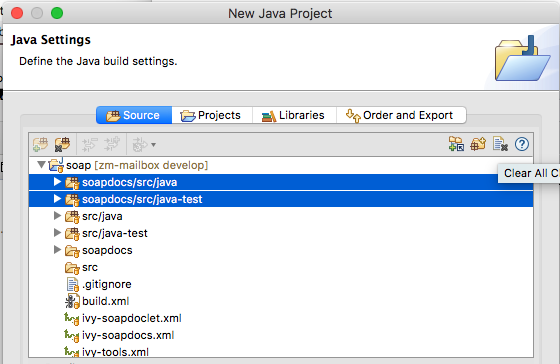
Right click and select
Remove from Build Path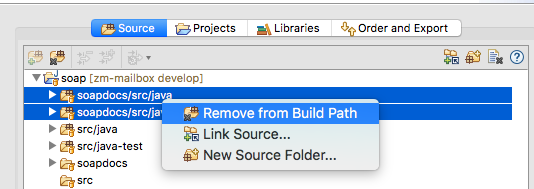
Push the Projects tab to switch to the
soapproject settings: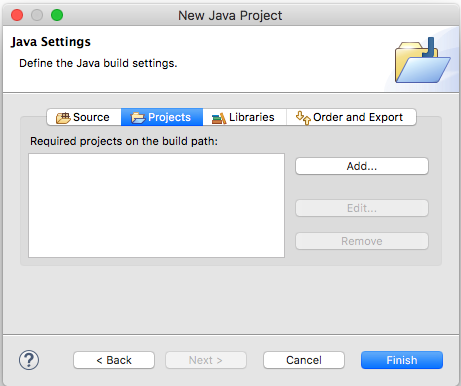
The
zm-mailbox/soapproject depends on thezm-mailbox/nativeandzm-mailbox/commonprojects. Click on the Add... button and select thenative, andcommonprojects and push OK.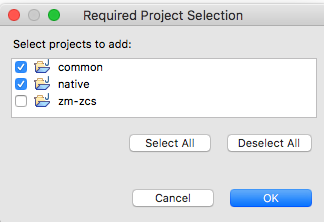
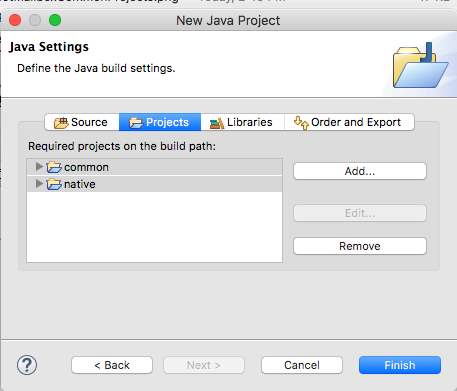
Push Finish to add the
zm-mailbox/soapproject to the workspace.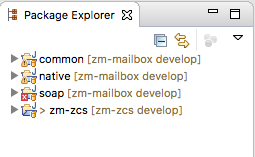
-
Inform the Ivy subsystem of the new
soapproject:Expand the
soapfolder and right click on theivy.xmlfile.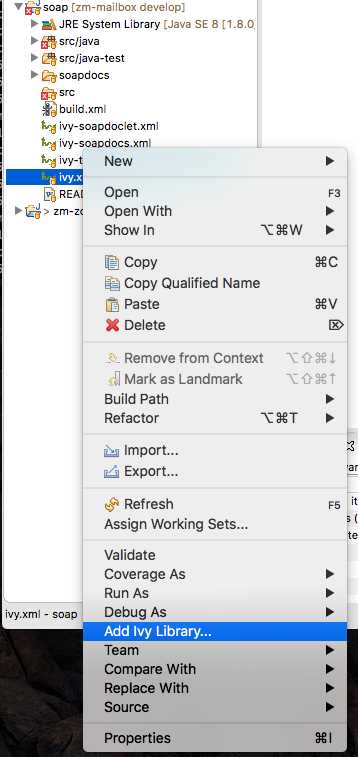
Push the Add Ivy Library... menu option:

Push Finish to update the Ivy dependencies.
-
Add
zm-mailbox/clientas a new Java project:

Push Browse and navigate to
~/Projects/Zimbra/zm-mailboxand selectclient: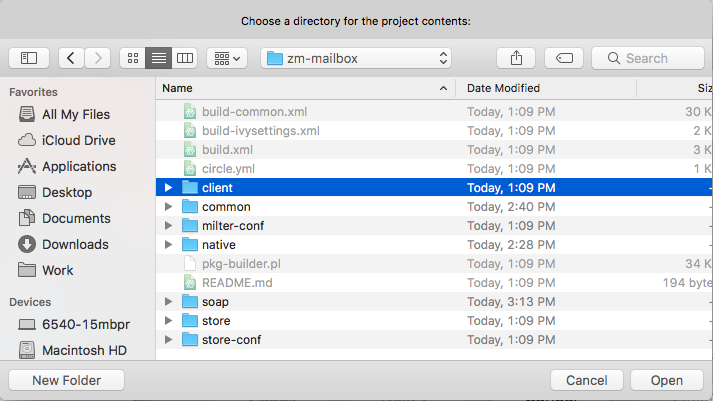
Push Open to complete the selection.
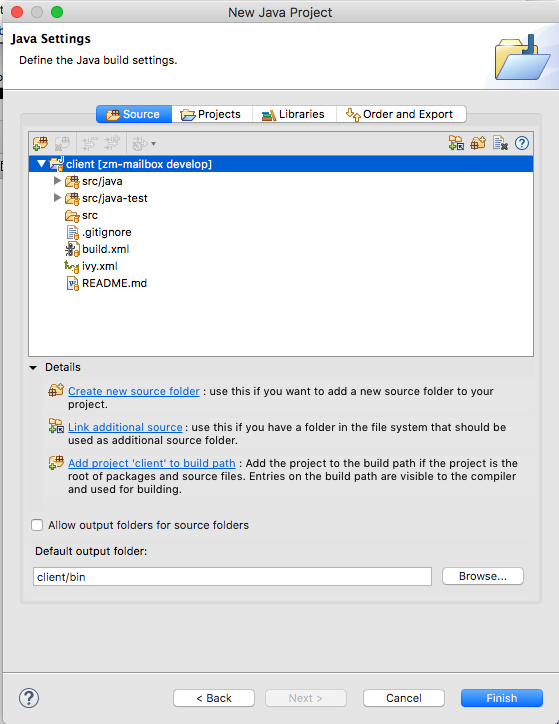
Push the Projects tab to switch to the
clientproject settings: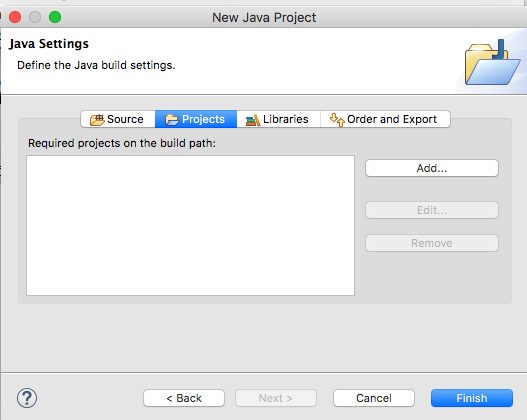
The
zm-mailbox/clientproject depends on thezm-mailbox/native,zm-mailbox/common, andzm-mailbox/soapprojects. Click on the Add... button and select thenative,common, andsoapprojects and push OK.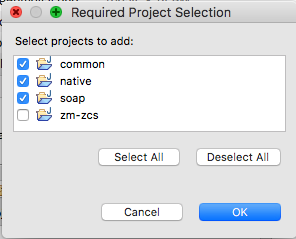
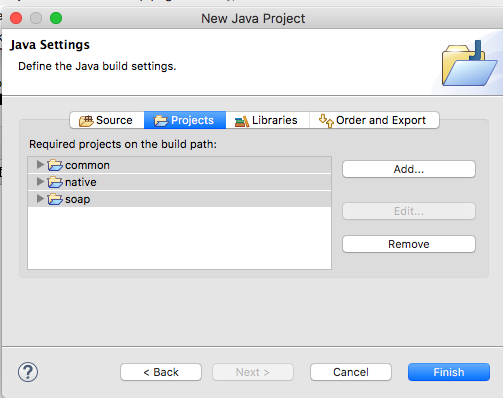
Push Finish to add the
zm-mailbox/clientproject to the workspace.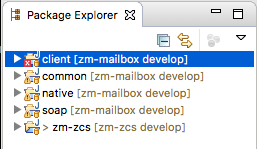
-
Inform the Ivy subsystem of the new
soapproject:Expand the
soapfolder and right click on theivy.xmlfile.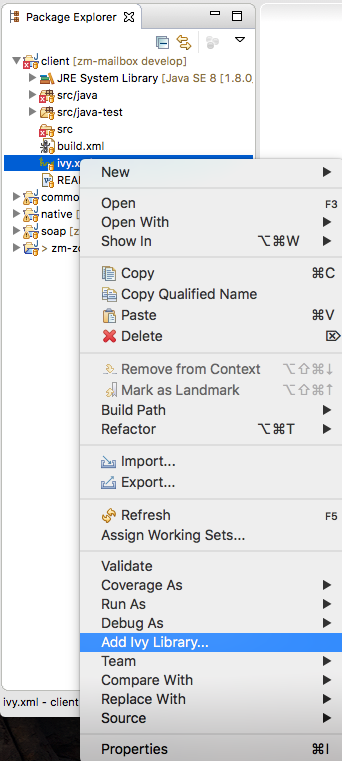
Push the Add Ivy Library... menu option:

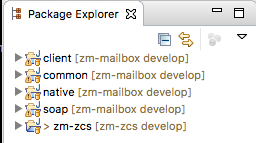
Push Finish to update the Ivy dependencies.
-
Add
zm-mailbox/storeas a new Java project:

Push Browse and navigate to
~/Projects/Zimbra/zm-mailboxand selectstore: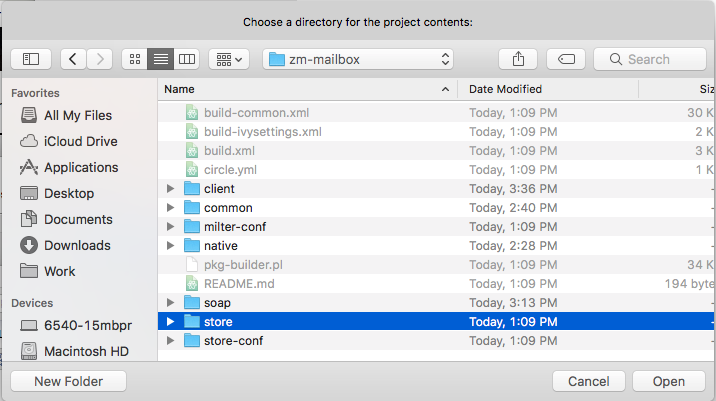
Push Open to complete the selection.
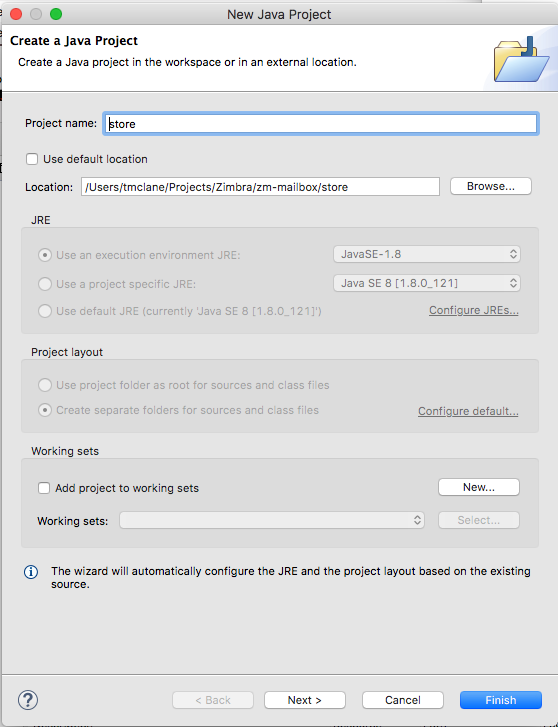
Push Next to update
storeproject settings: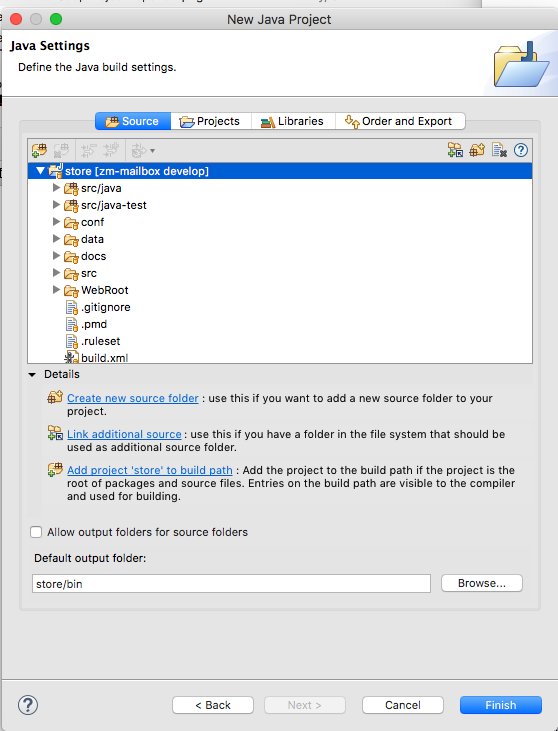
Push the Projects tab to switch to the
storeproject settings: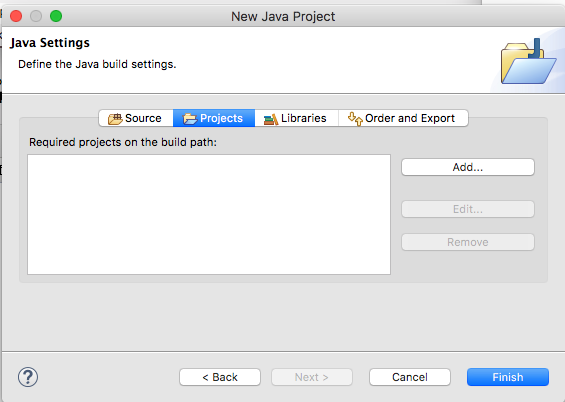
The
zm-mailbox/storeproject depends on thezm-mailbox/native,zm-mailbox/common,zm-mailbox/soap, andzm-mailbox/clientprojects.Click on the Add... button.
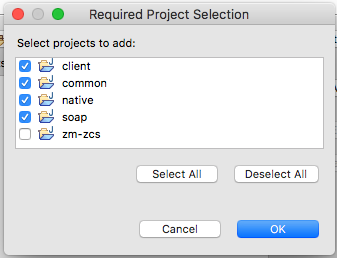
Select the
native,common,soap, andclientprojects and push OK.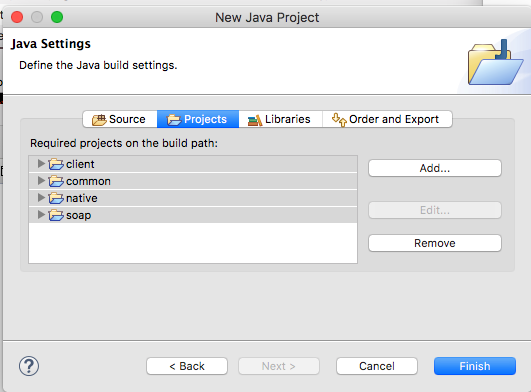
Push Finish to add the
zm-mailbox/storeproject to the workspace.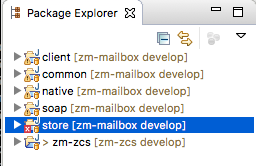
-
Inform the Ivy subsystem of the new
storeproject:Expand the
storefolder and right click on theivy.xmlfile.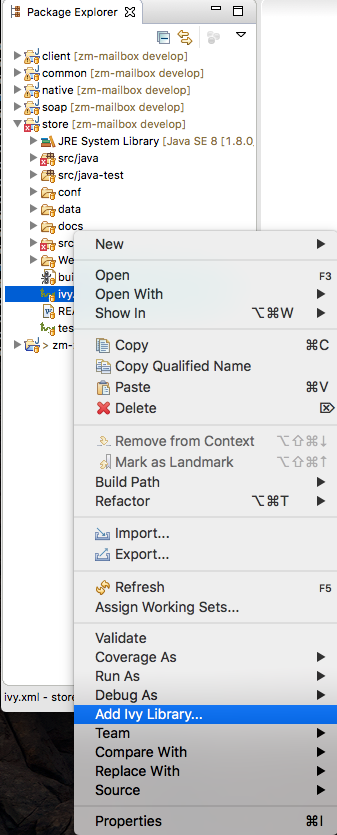
Push the Add Ivy Library... menu option:

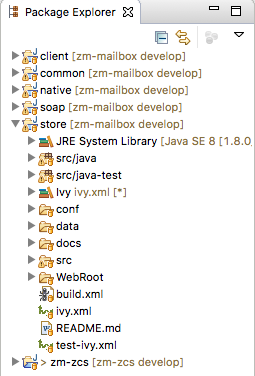
Push Finish to update the Ivy dependencies.
Eclipse supports debugging remotely over port 9999 to the Zimbra docker-zcs-dev-machine development container.
Note: These instructions assume that the docker-zcs-dev-machine container is running locally and is therefore accessible over localhost:9999. If this does not match your development environment please fill in the hostname and port that fits your environment.
-
Adding a debug runtime configuration
Click on the
Runmenu option and selectDebug Configurations.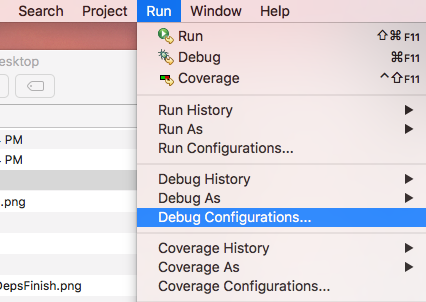
The
Debug Configurationsdialog will appear: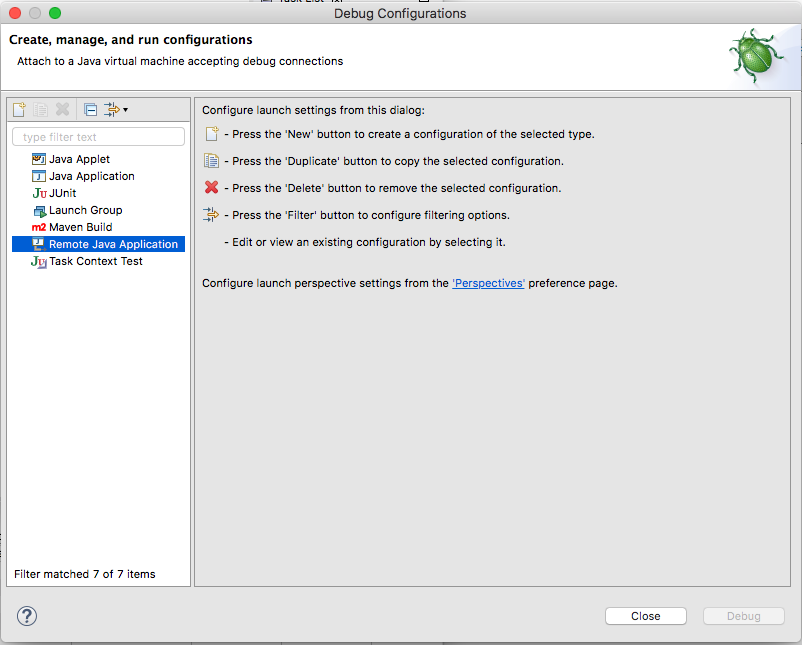
You will want to double-click on the
Remote Java Applicationsitem in the left column. This will create a new configuration which you may name.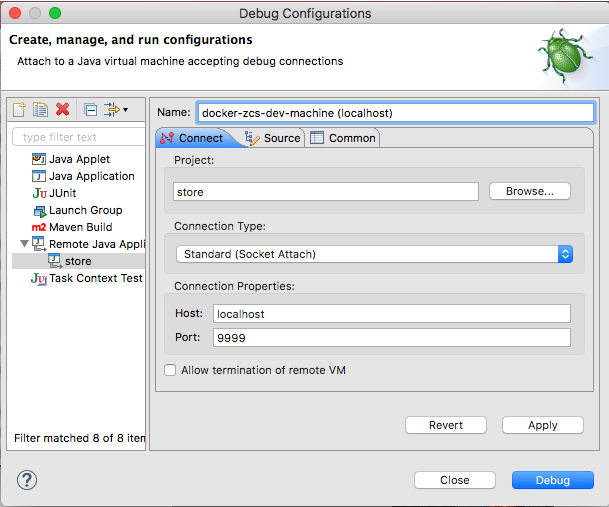
Select Project, right-click properties

Go to Java Compiler and check compliance level is set to 1.8