-
Notifications
You must be signed in to change notification settings - Fork 92
Setting up IntelliJ IDEA Community Edition
This document details how to setup IntelliJ as your primary IDE for ZCS development.
Choose a location on your filesystem to checkout the source:
mkdir -p ~/Projects/Zimbra
cd ~/Projects/Zimbra
Clone the zm-zcs repository:
git clone [email protected]:Zimbra/zm-zcs.git
Create eclipse-ivysettings.xml inside the zm-zcs directory to hold the Ivy settings. This file is used by both Eclipse and Intelli-J in the Ivy Plugin to configure where it stores any dependencies downloaded or created during the build process.
Note: You will have to update the path to match your directory structure. Replace <username> with your username. If you are not running on Mac OS X update the path prefix accordingly. The path MUST be absolute.
<?xml version="1.0" encoding="UTF-8"?>
<ivysettings>
<settings defaultResolver="chain-resolver" />
  <caches defaultCacheDir="/Users/<username>/.ivy2/cache"/>
  <resolvers>
    <chain name="chain-resolver" returnFirst="true">
      <filesystem name="local">
        <artifact pattern= "/Users/<username>/.zcs-deps/[organisation]/[module]/[module]-[revision].[ext]" />
        <artifact pattern= "/Users/<username>/.zcs-deps/[organisation]-[revision].[ext]" />
        <artifact pattern= "/Users/<username>/.zcs-deps/[organisation].[ext]" />
      </filesystem>
      <ibiblio name="maven" m2compatible="true" usepoms="false"/>
      <url name="zimbra">
        <artifact pattern="https://files.zimbra.com/repository/[module]/[artifact]-[revision].[ext]" />
        <artifact pattern="https://files.zimbra.com/repository/[module]/[artifact].[ext]" />
        <artifact pattern="https://files.zimbra.com/repository/[organisation]/[module]/[module]-[revision].[ext]" />
      </url>
    </chain>
    <!-- 'build-tmp' resolver is not part of the chain and is used only for packaging war files -->
    <!--
    <filesystem name="build-tmp">
      <artifact pattern="${build.tmp.dir}/[module]-[revision].[ext]" />
    </filesystem>
    <filesystem name="build-dist">
      <artifact pattern="${dist.dir}/[module]-[revision].[ext]" />
    </filesystem>
    -->
  </resolvers>
</ivysettings>
Clone the zm-mailbox repository:
git clone [email protected]:Zimbra/zm-mailbox.git      # If you have a GitHub Account
git clone https://github.com/Zimbra/zm-mailbox.git  # Anonymous clone
Note: If you wish to contribute back to the project you will need to fork the repository and submit pull requests from your fork.
Once cloned locally you can proceed to setup the editor of your choice following one of the following processes.
Zimbra Collaboration can be developed using many different IDEs or editors. This document details how to setup IntelliJ IDEA Community edition (2017.2 as of this writing) to be used to develop and debug a development Zimbra Collaboration.
-
Open IntelliJ IDEA CE.
-
Create a new empty project.
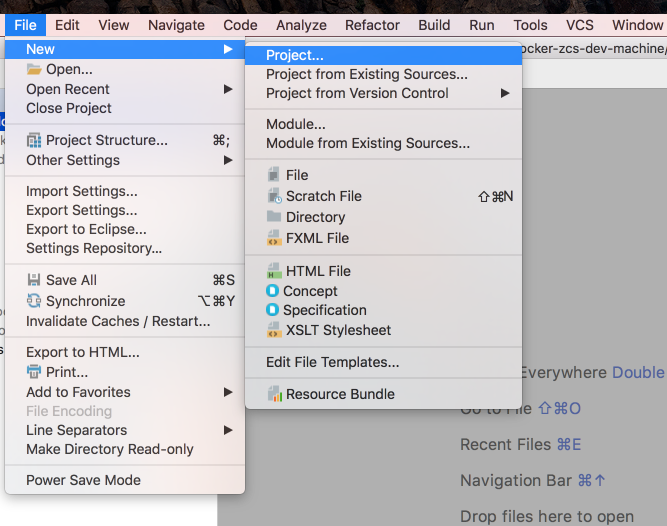
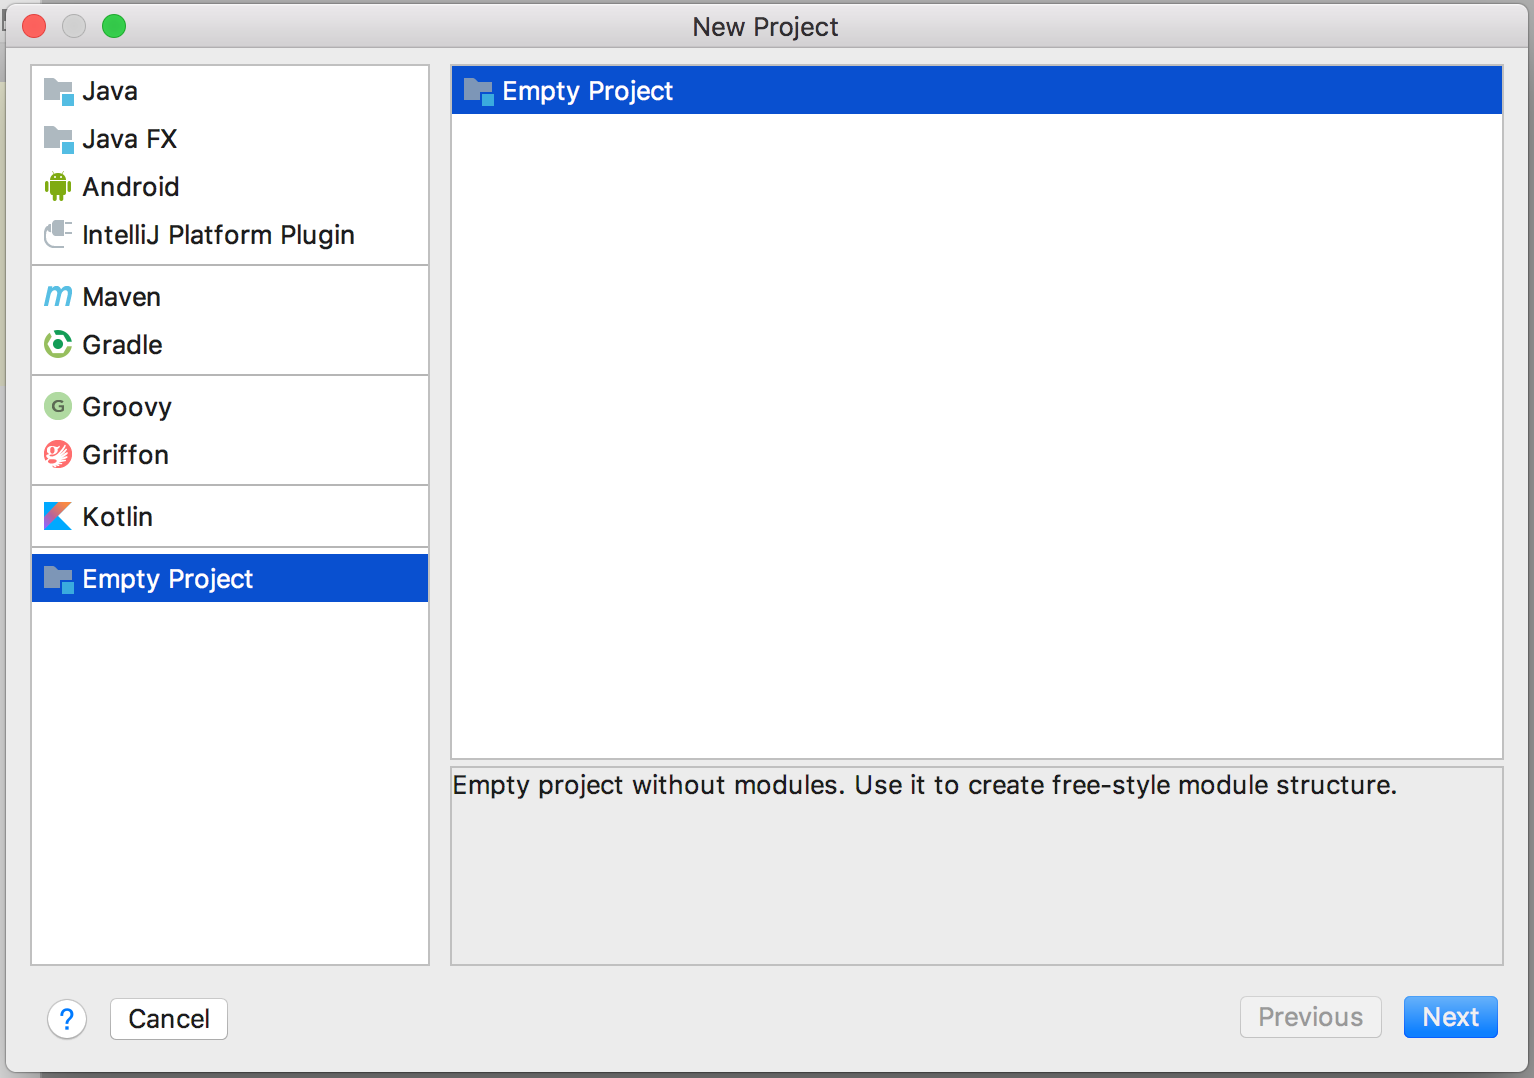
-
Select location of new project. Recommend using '~/Projects/Zimbra'.
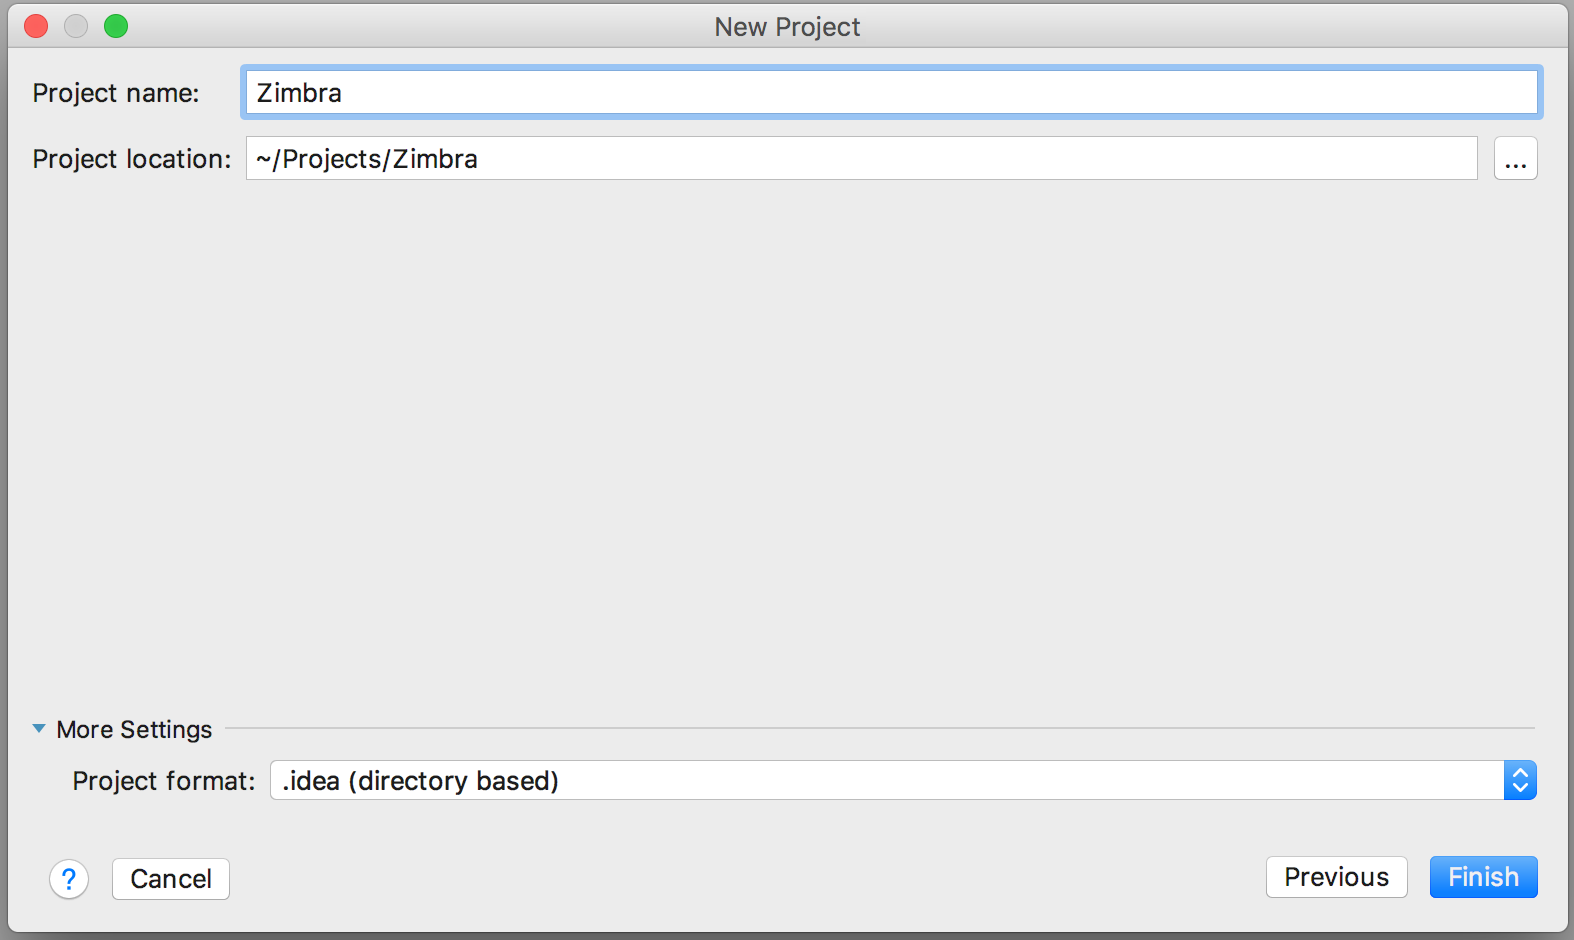
-
'Project Structure' will then appear:
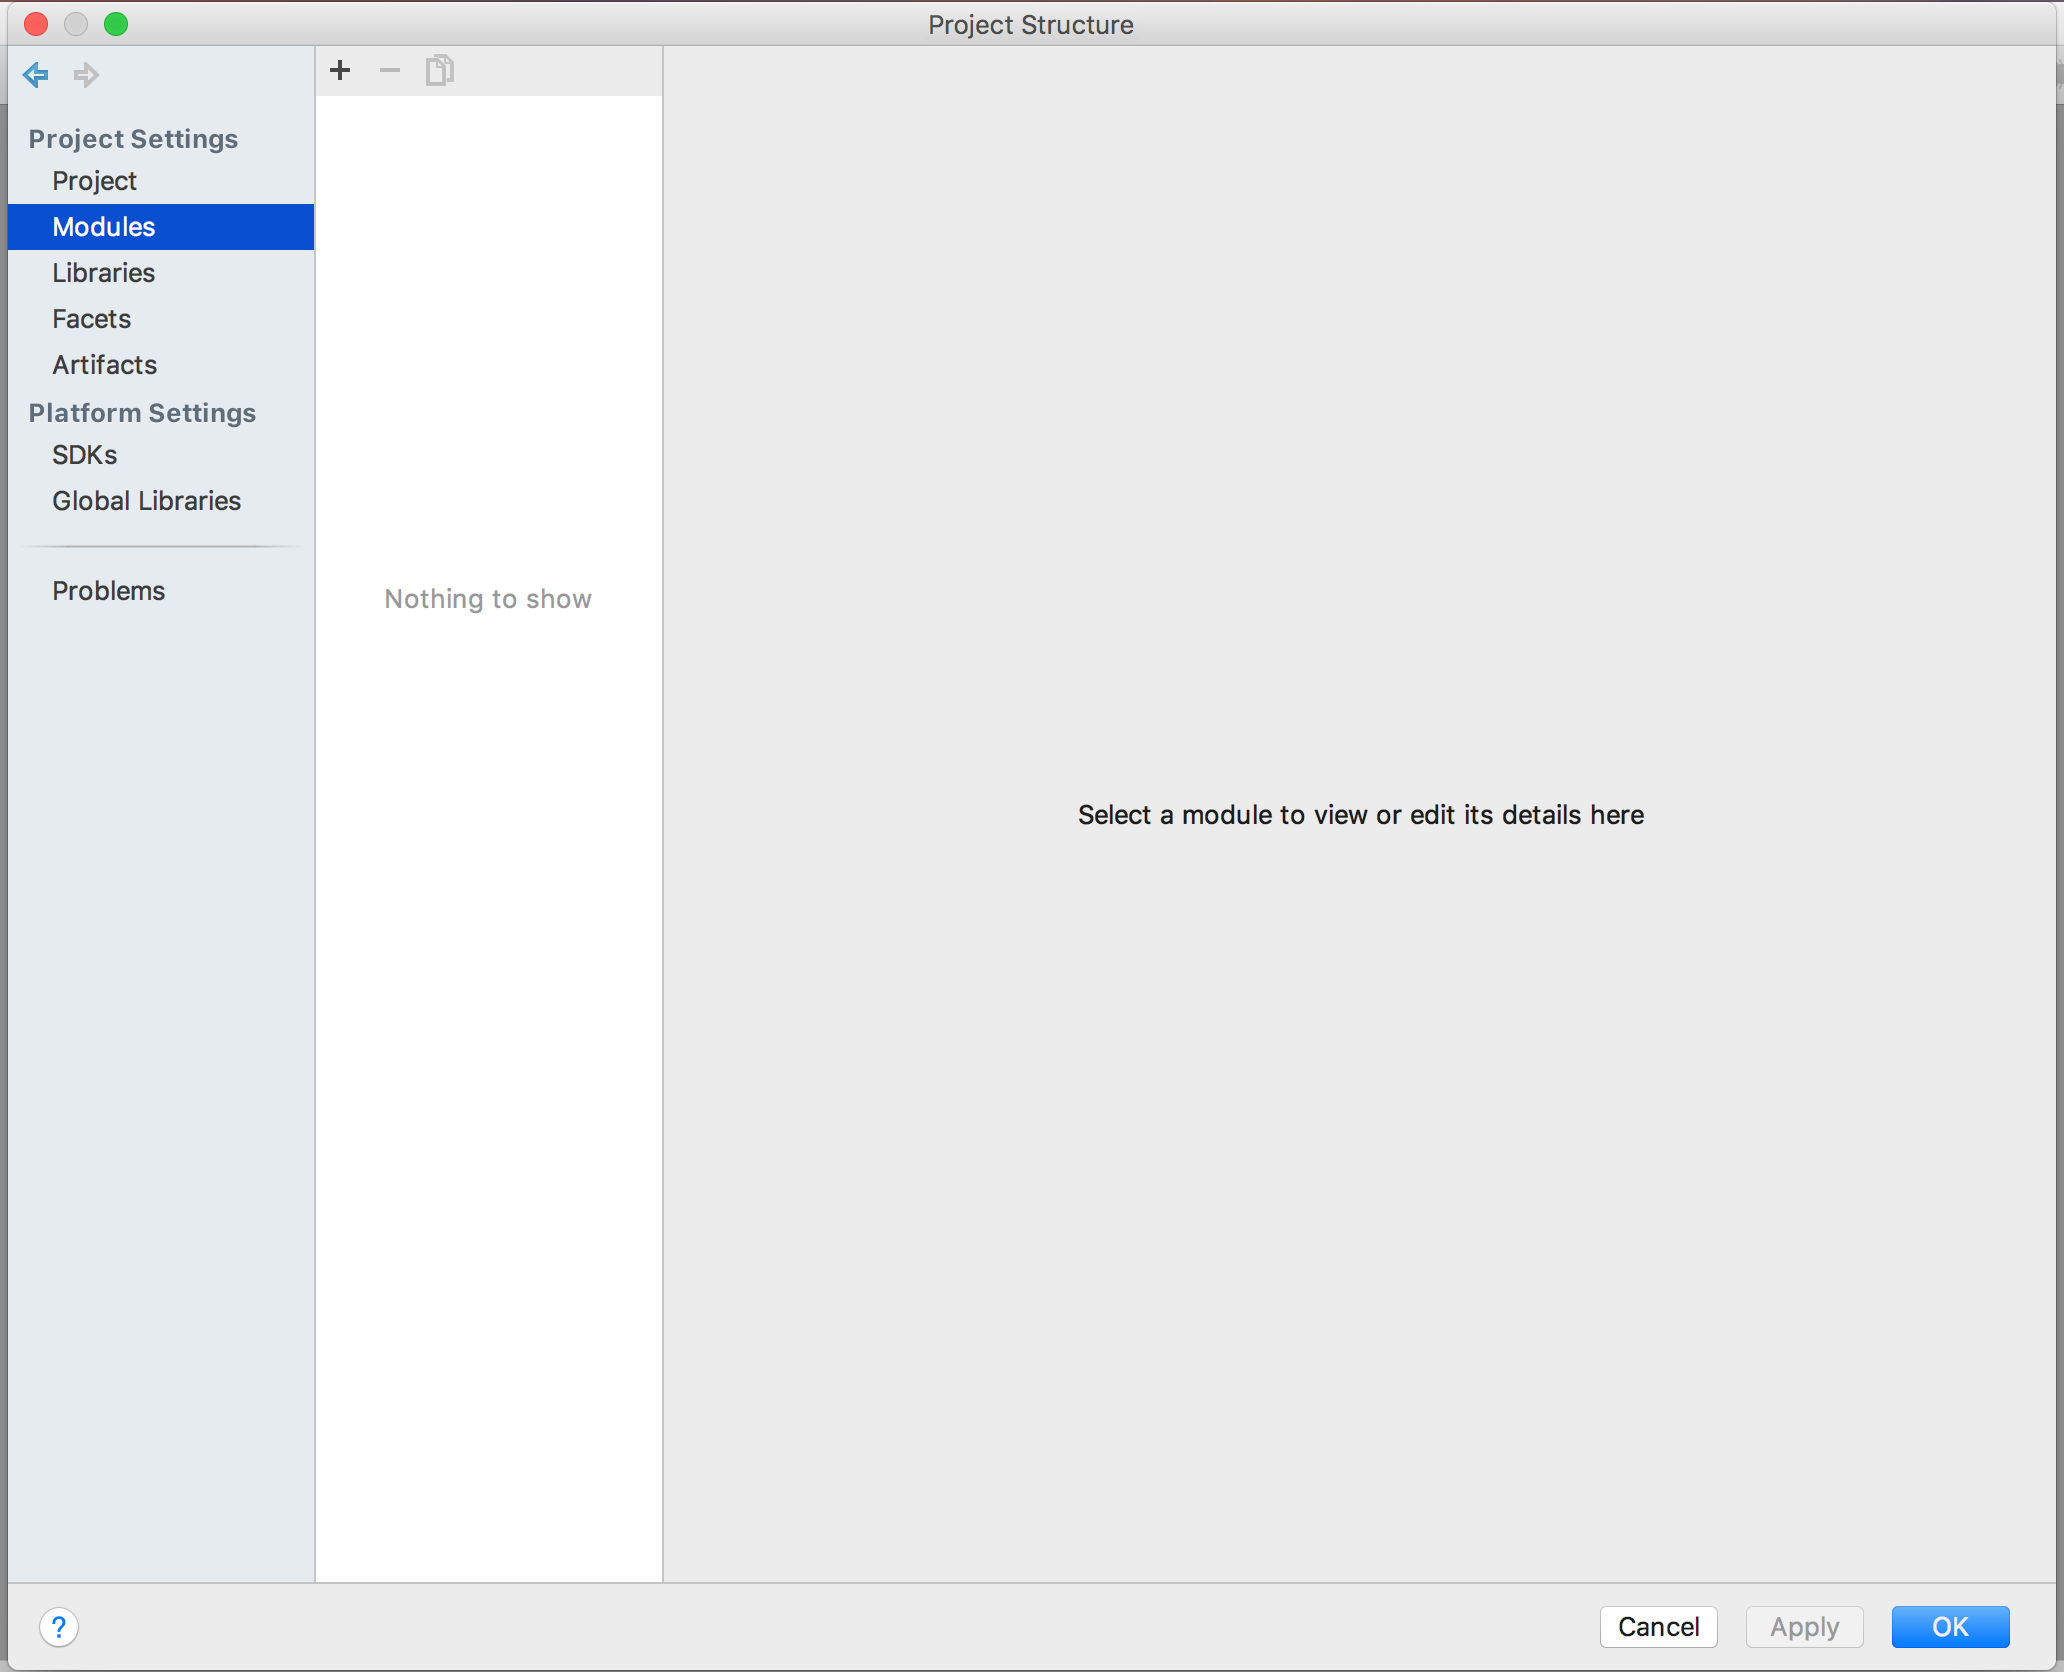
If it doesn't appear open it using the File menu:

-
Add
nativeas a new module.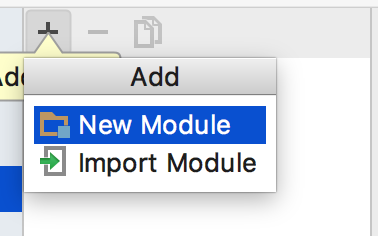
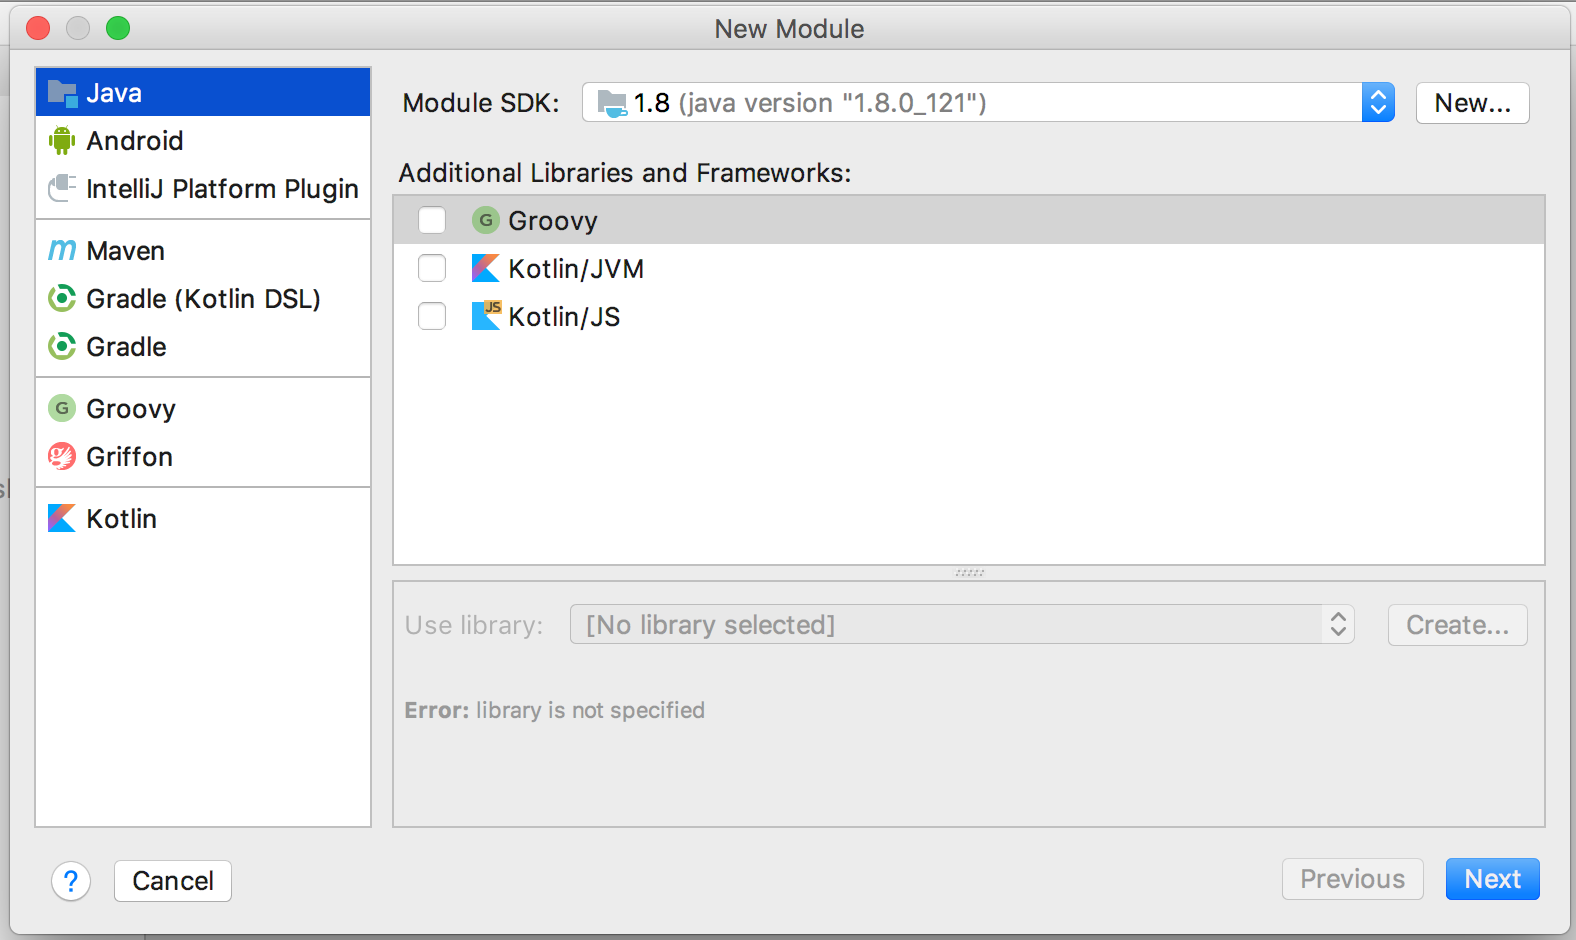
Push Next.
Select the native directory underneath the project root using the Content root selector. This will change all of the names to native.
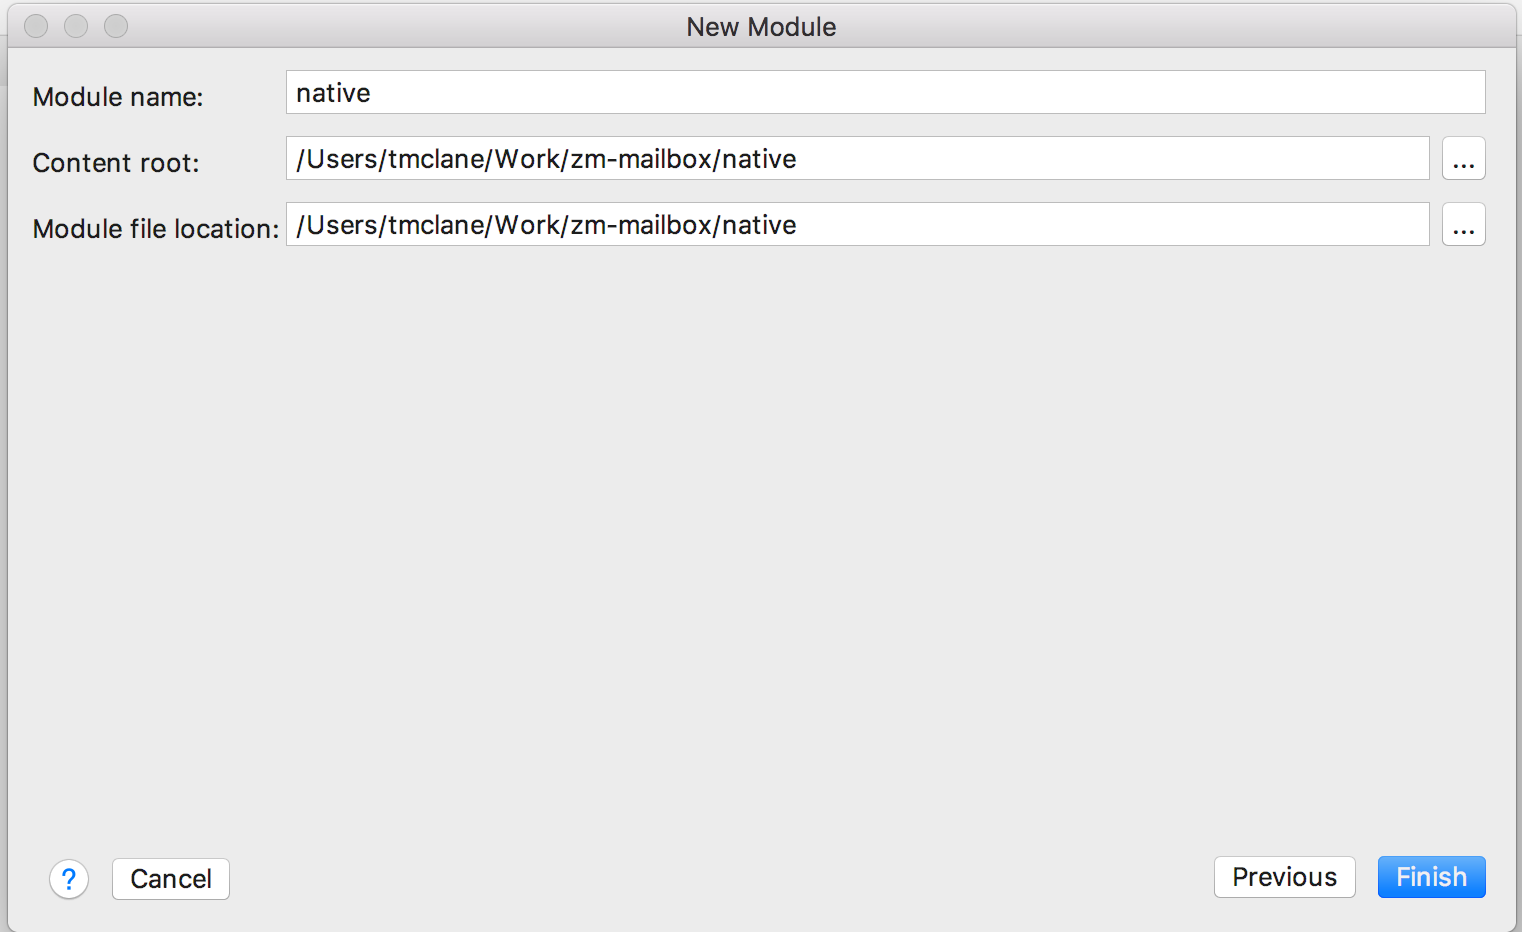
Click Finish.
-
Add
commonas a new module.

Push Next.
Select the common directory underneath the project root using the Content root selector. This will change all of the names to common.
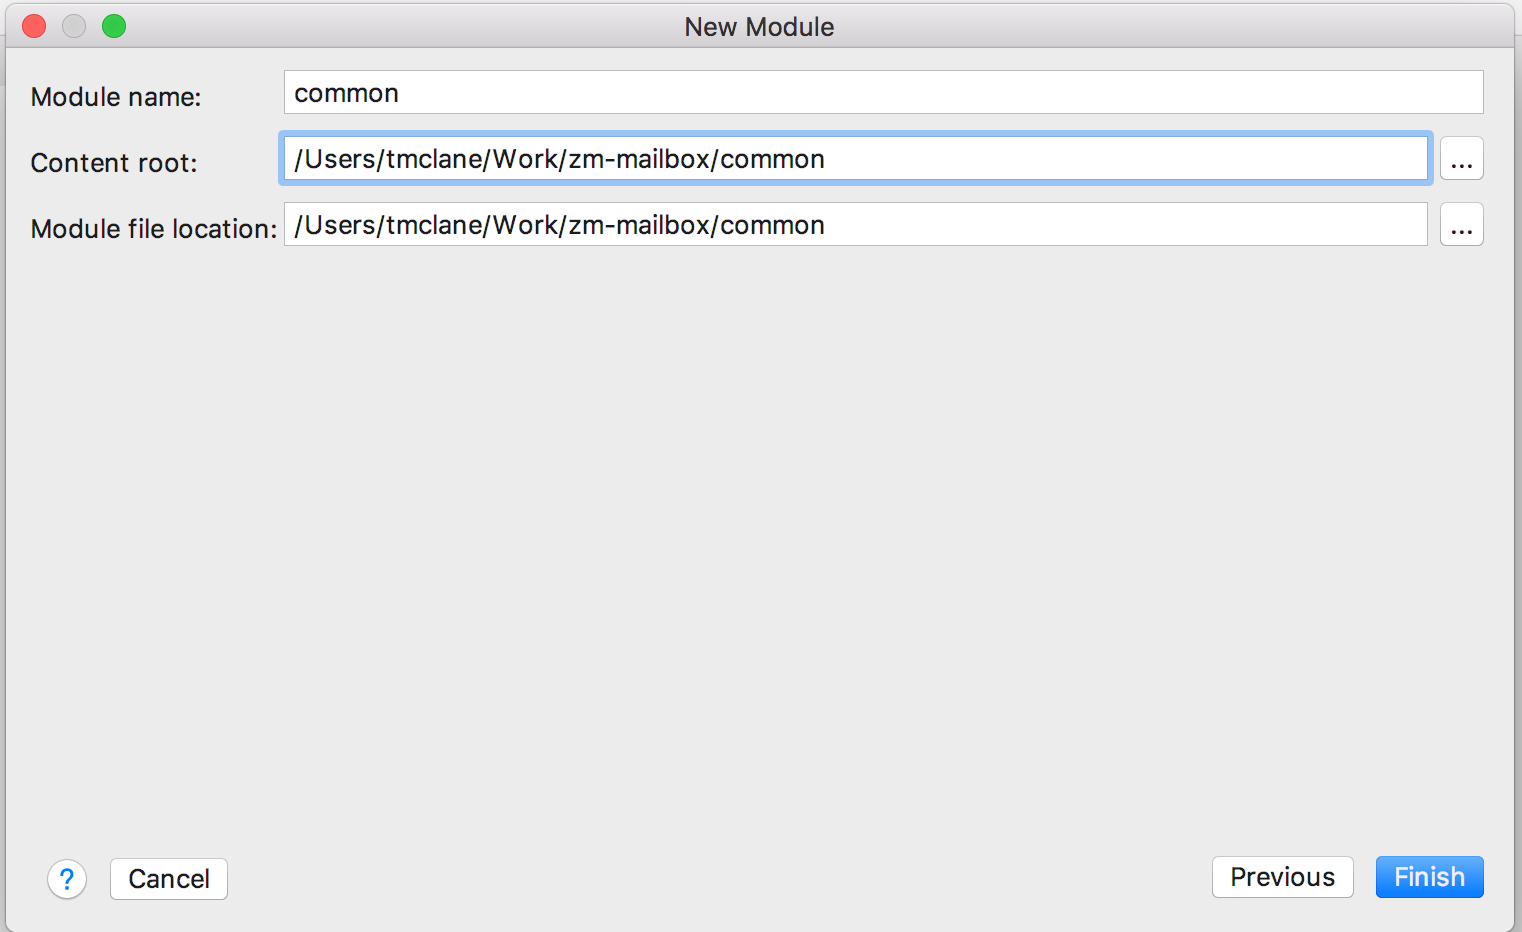
Click Finish.
-
Add
soapas a new module.

Push Next.
Select the soap directory underneath the project root using the Content root selector. This will change all of the names to soap.
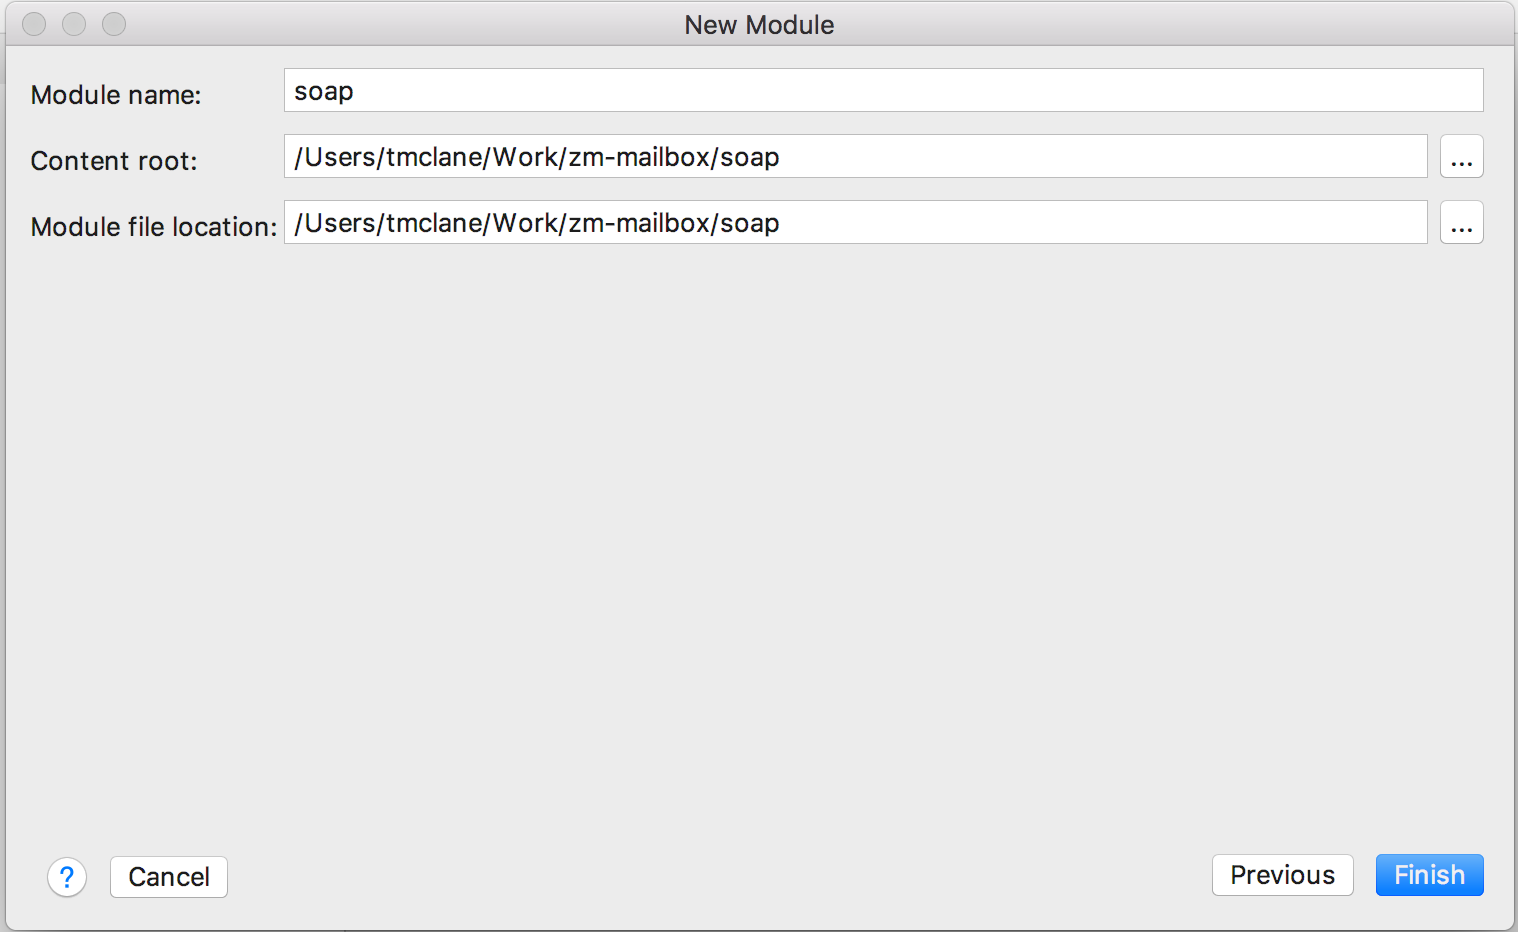
Click Finish.
-
Add
clientas a new module.

Push Next.
Select the client directory underneath the project root using the Content root selector. This will change all of the names to client.
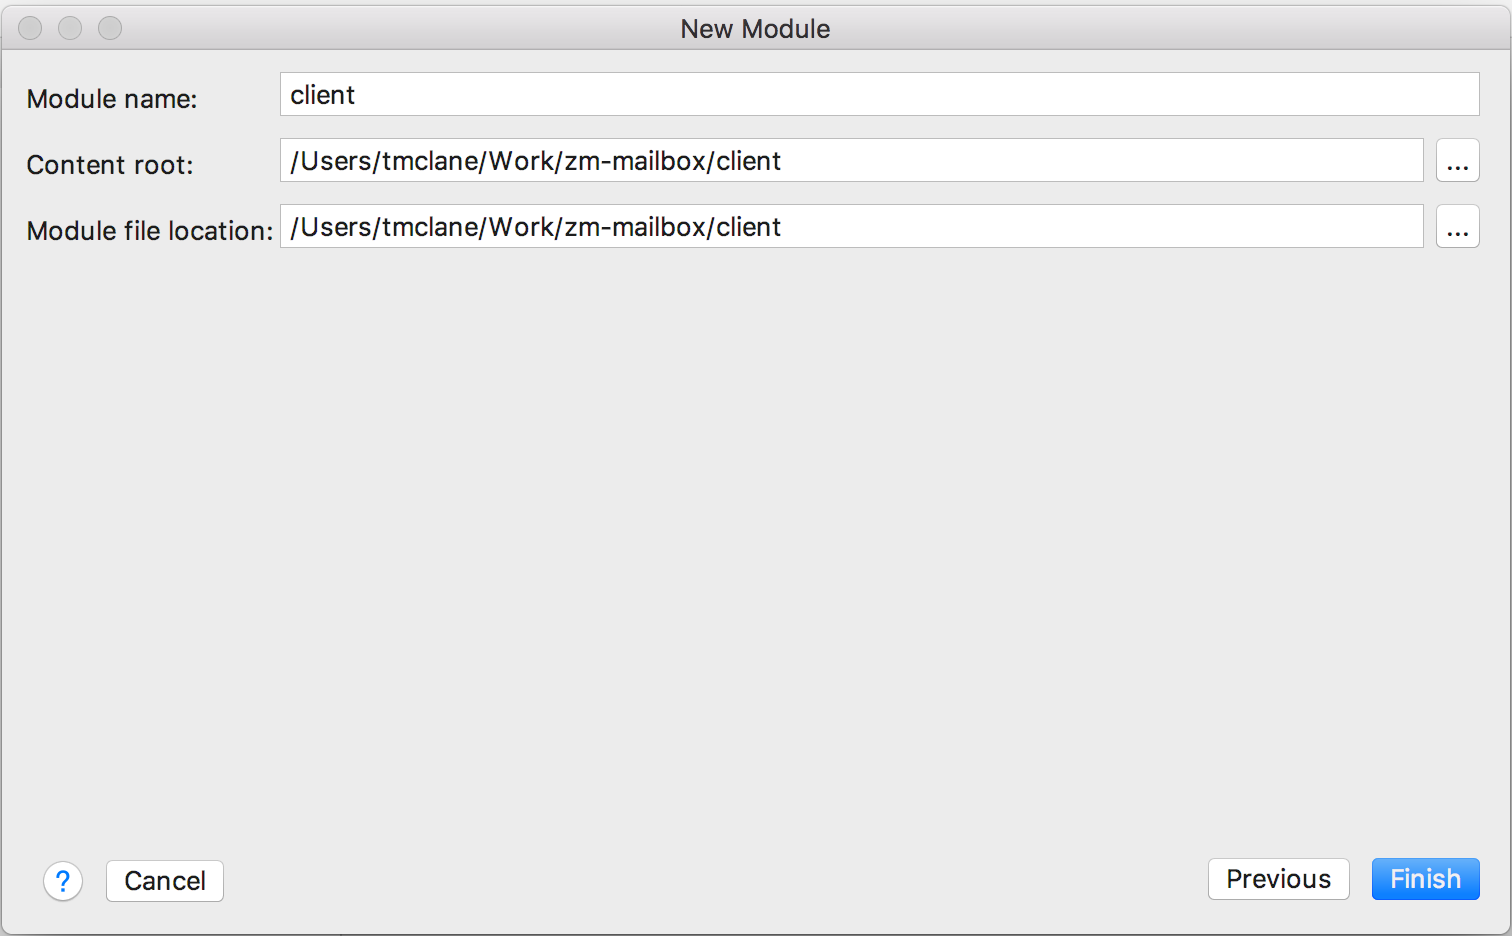
Click Finish.
-
Add
storeas a new module.

Push Next.
Select the store directory underneath the project root using the Content root selector. This will change all of the names to store.
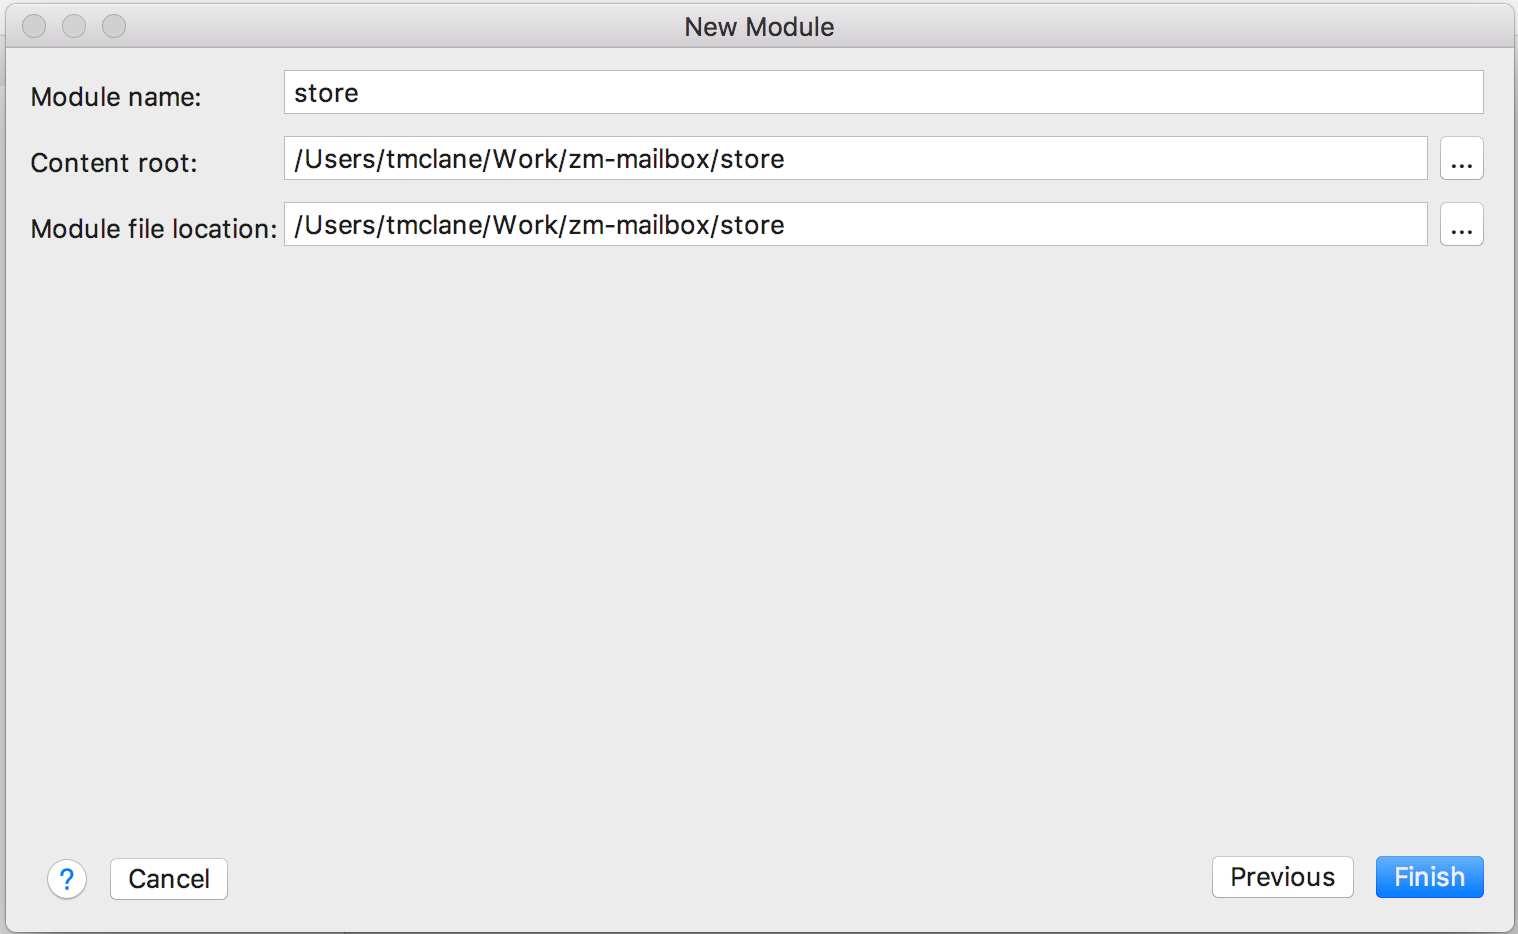
Click Finish.
-
Project Structure
The Project structure should now look like the following:
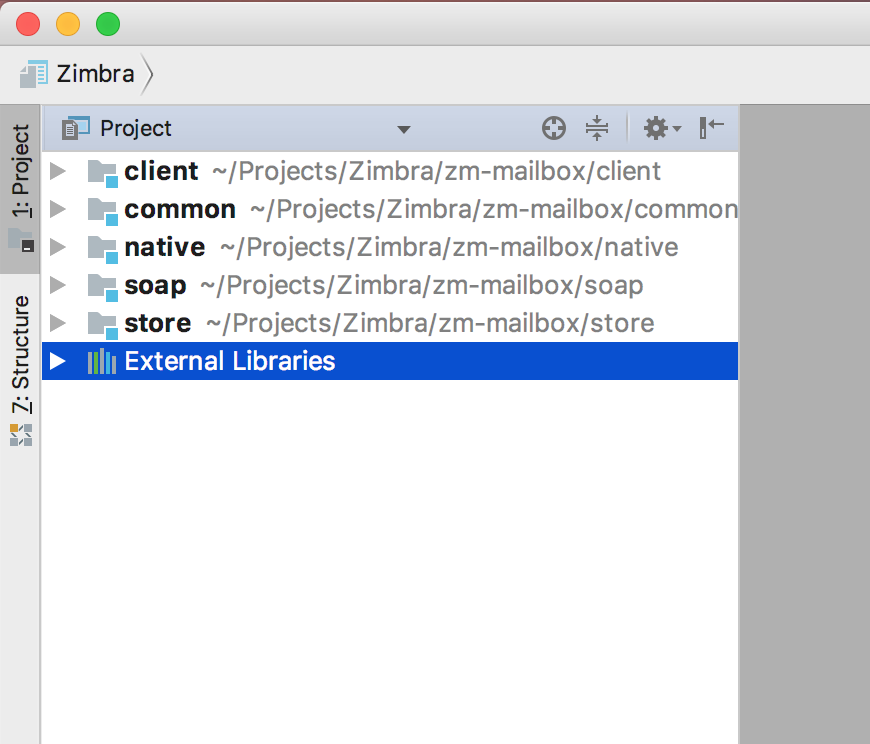
-
Ivy configuration
To configure IntelliJ-IDEA to use the ivy settings file you created above in
~/Projects/Zimbra/zm-zcs/eclipse-ivysettings.xml, click on the IntelliJ IDEA menu and Preferences. Expand Other Settings to find the IvyIDEA section. Select Use your own and use the file explorer to find the file.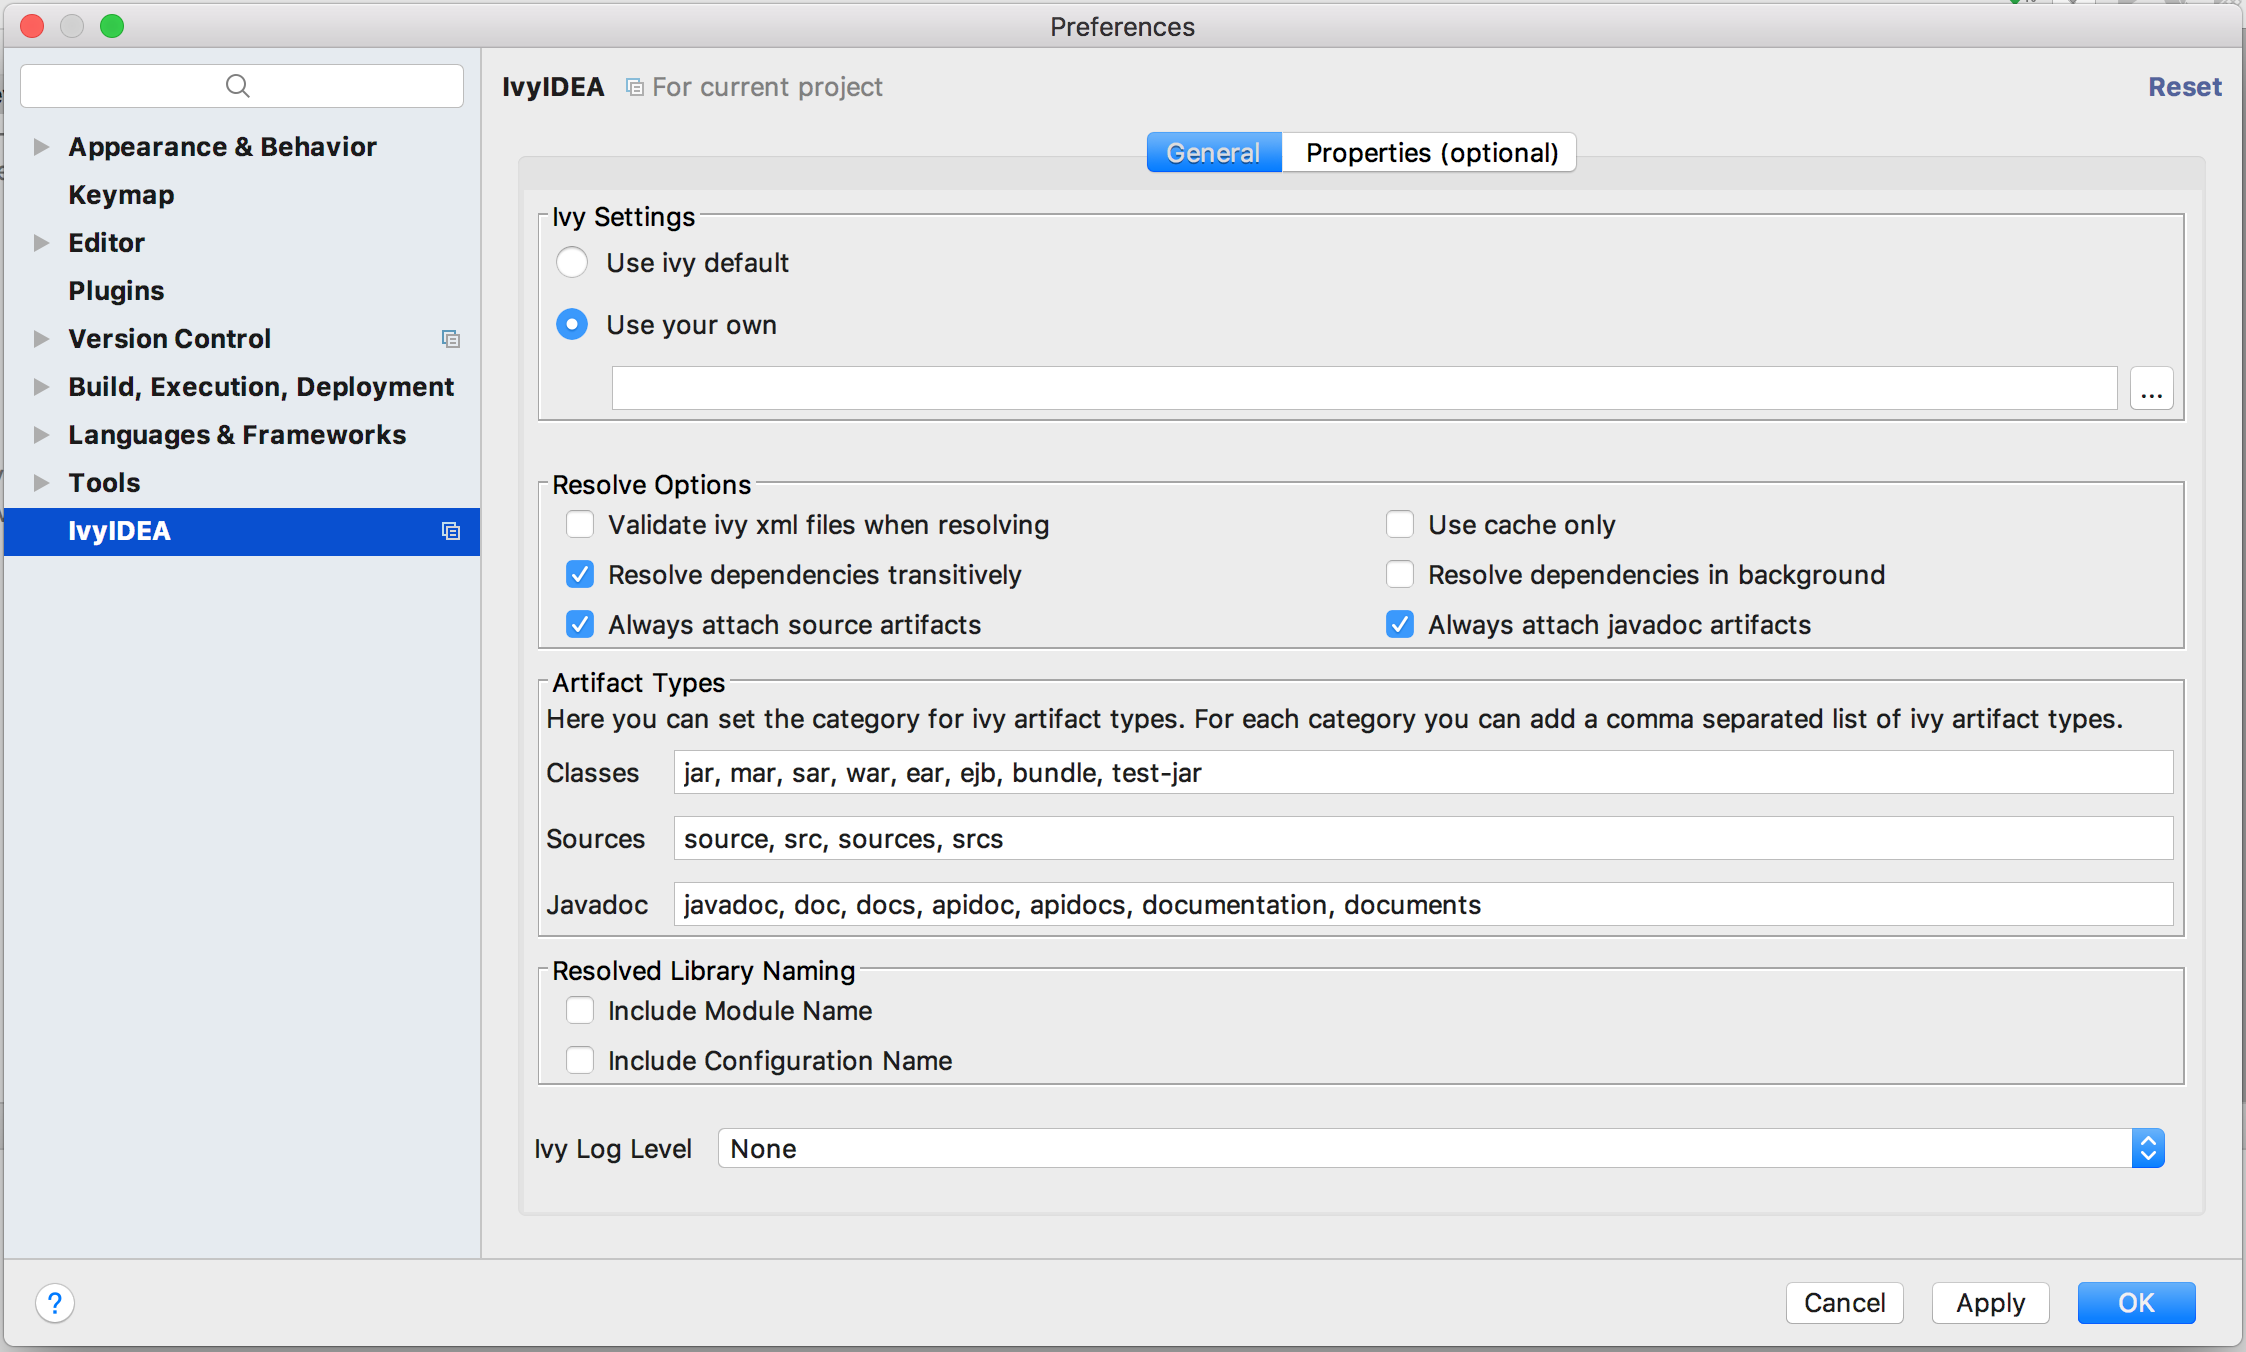
-
Configuring IntelliJ-IDEA to know where the roots of the Java and Java test sources are
Expand the hierarchies so that the following directories are shown:
 client/src
 common/src
 native/src
 soap/src
 store/src
These will probably all be shown with a blue folder icon indicating that they are regarded as "Sources Roots". This is wrong for Zimbra. For each of them ensure that they are regarded as non-special folders by right clicking on each in turn, Mark Directory as then Unmark as Sources Root
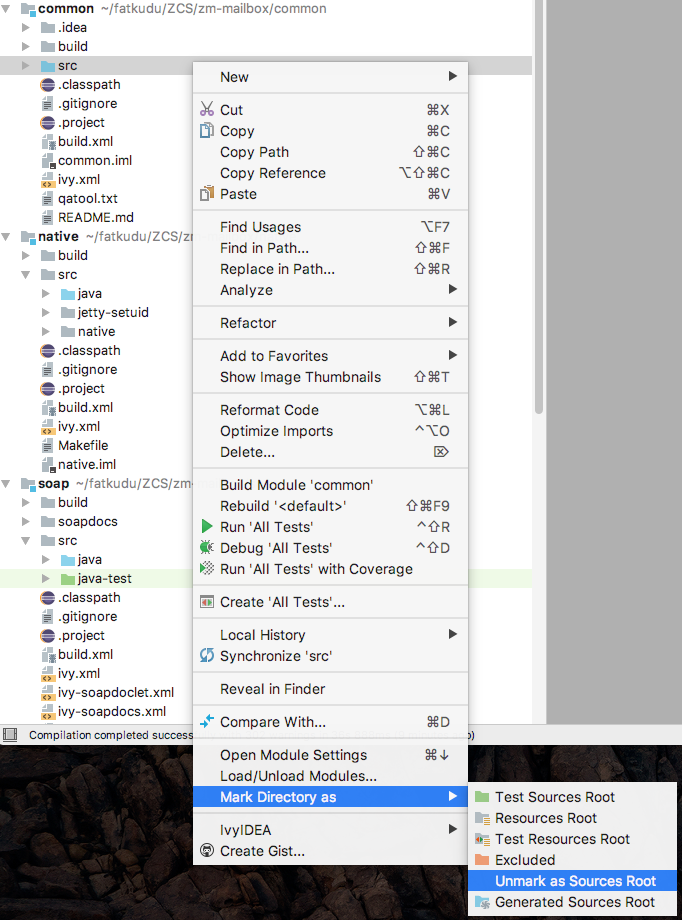
After that, you should be able to expand further to show these directories
 client/src/java
 client/src/java-test
 common/src/java
 common/src/java-test
 native/src/java
 soap/src/java
 soap/src/java-test
 store/src/java
 store/src/java-test
Ensure that each of the
javadirectories in the above list are marked as a "Sources Root" using the same right click sub-menu system used to unmark thesrcdirectories as "Sources Root"s. Similarly, ensure that each of thejava-testdirectories in the above list are marked as a "Test Sources Root".You may need to restart IntelliJ at this point. On restart, you should get a message that it had detected that you are using Ivy and asked if you wanted to add various ivy files. Select the Tools menu/IvyIDEA/Resolve for all modules You should now be able to select Build and Build Project